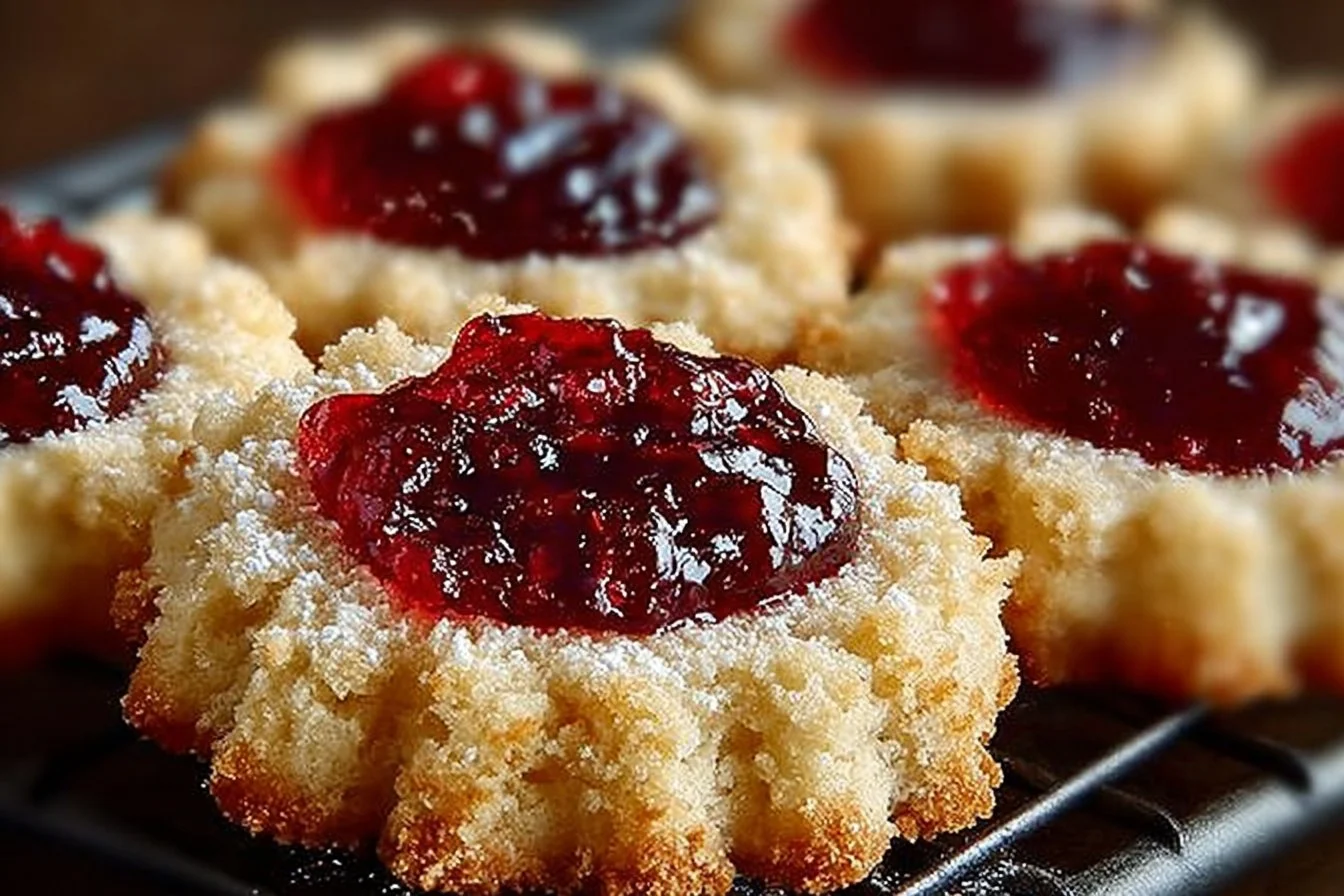
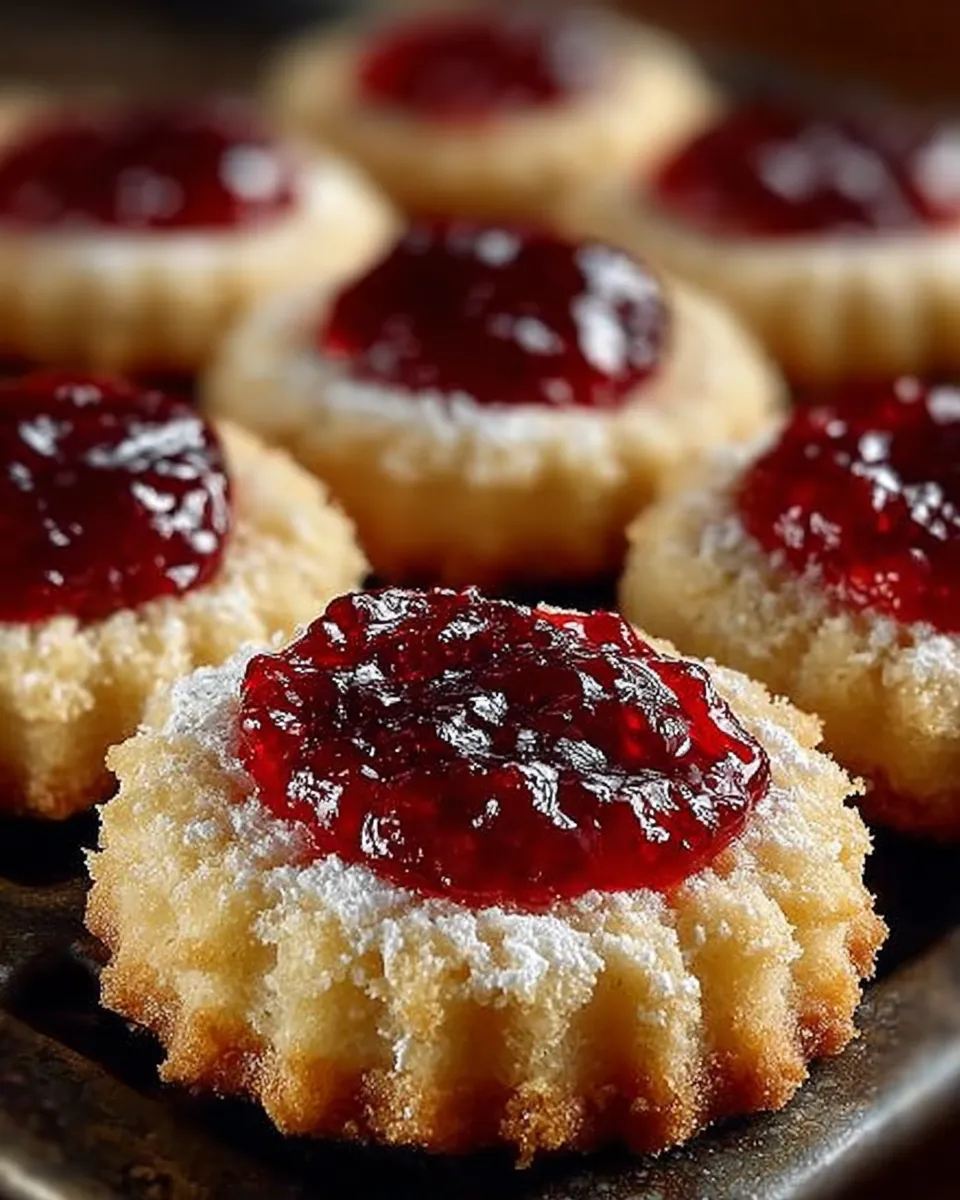
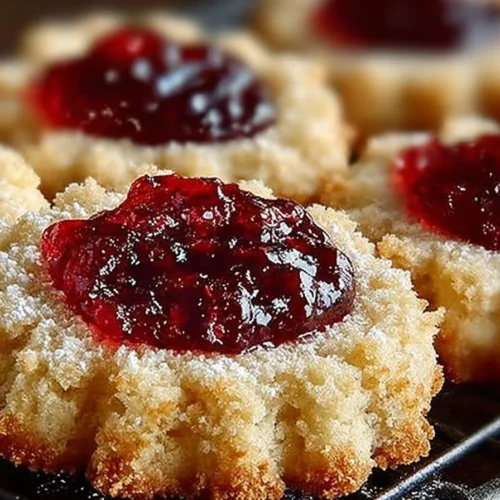
Imagine biting into a buttery, melt-in-your-mouth cookie filled with sweet, jewel-toned jelly—what could be better? Best Jelly Thumbprint Cookies offer a delightful combo of tender shortbread and fruit preserves, perfect for any occasion. These cheerful little treats have been a staple at my family gatherings for years, always vanishing faster than I can make them! They’re incredibly easy to whip up, making them ideal for last-minute baking or as a fun project with kids. I love how this recipe delivers maximum flavor with minimal effort—just like our ever-popular Easy Sugar Cookie Bars, which might be another favorite of yours. If you enjoy simple, crowd-pleasing bakes that bring everyone back for seconds, you’re in the right place. Let’s dive into a recipe that’s as timeless as it is delicious!
What is Best Jelly Thumbprint Cookies?
So, what exactly are these charmingly named Best Jelly Thumbprint Cookies? Well, the name might make you wonder: do you really use your thumb? Absolutely! Pressing down in the cookie dough to create a little well for the jelly is not only fun but also oddly satisfying (pro tip: it can be a great de-stressor). Legend has it, these cookies prove the old saying, “the way to a man’s heart is through his stomach”—but honestly, anyone will fall in love with them! If you’re searching for a delicious treat with a playful name and even more playful process, give these a try and see for yourself why they’ve stood the test of time.
Why You’ll Love This
The magic of these cookies lies in their crisp yet tender texture, bursting with sweet and tangy jelly at their centers. Forget store-bought—making thumbprint cookies at home is surprisingly budget-friendly. You likely have all the ingredients in your pantry already, so no trips to specialty stores needed! Plus, you can mix and match your favorite jams or jellies for a personalized burst of fruity flavor every time. With endless options like strawberry, raspberry, or apricot, there’s a version for everyone. If you’re a fan of classic cookies like our Chocolate Crinkle Cookies, these thumbprints provide a bright, flavorful alternative that’s sure to impress. Ready to bake the best batch ever? Let’s get started!
How to Make
Quick Overview
These Best Jelly Thumbprint Cookies are the epitome of easy baking—simple, stress-free, and ready in about 30 minutes. The classic shortbread-style dough requires minimal ingredients, yet creates a melt-in-your-mouth texture accented by gooey, fruity jelly. With such a short prep and bake time, you can have a fresh batch ready before your coffee even brews!
Ingredients
- 1 cup unsalted butter, softened
- 2/3 cup granulated sugar
- 1 teaspoon vanilla extract
- 2 cups all-purpose flour
- 1/2 teaspoon salt
- 1/2 cup fruit jelly or jam (such as strawberry, raspberry, apricot, or your favorite!)
- 1 tablespoon powdered sugar (optional, for dusting)
Step-by-Step
-
Preheat your oven to 350°F (175°C). Line two baking sheets with parchment paper for easy cleanup.
-
In a large mixing bowl, cream together the softened butter and granulated sugar using a hand mixer or stand mixer until the mixture is light and fluffy (about 2-3 minutes).
-
Beat in the vanilla extract until fully incorporated.
-
Add the flour and salt to the bowl. Mix on low speed until you achieve a soft, cohesive dough. Avoid over-mixing to keep the cookies tender.
-
Using a tablespoon or small cookie scoop, portion out the dough and roll each piece into a smooth ball. Arrange the dough balls about 2 inches apart on the prepared baking sheets.
-
Using your thumb (or the back of a teaspoon if you prefer), gently create an indent in the center of each dough ball, being careful not to press all the way through.
-
Fill each indentation with about 1/2 teaspoon of your chosen jelly or jam, taking care not to overfill.
-
Bake in the preheated oven for 12-14 minutes, or until the edges are just lightly golden.
-
Let the cookies cool on the baking sheets for 5 minutes before transferring them to a wire rack to cool completely.
-
Once cooled, dust with powdered sugar if desired, and enjoy!
What to Serve Best Jelly Thumbprint Cookies With
These cookies are wonderfully versatile and pair seamlessly with a variety of drinks and desserts. Enjoy them with a hot cup of coffee or spiced tea for a cozy afternoon treat. For a festive dessert platter, serve them alongside other classics like almond biscotti or lemon bars. They also complement fruit platters and cheese boards beautifully, offering a sweet bite in between savory flavors. If you’re entertaining, pair them with sparkling cider or even a glass of chilled milk for a nostalgic treat everyone will love.
Top Tips for Perfecting
- Soften your butter fully before creaming to ensure a smooth, lump-free dough.
- For easy and mess-free indents, dip your thumb or spoon into flour before pressing each cookie.
- Don’t overfill the thumbprints—jelly can bubble over and spill if it’s too much.
- Swap in different jams or even a dollop of chocolate spread for a creative twist.
- If you prefer a crisper cookie, bake for an extra minute or two, keeping a close eye on the color.
- Avoid overcrowding your baking sheets to ensure even baking and perfectly shaped cookies.
Storing and Reheating Tips
To keep your Best Jelly Thumbprint Cookies fresh, store them in an airtight container at room temperature for up to 5 days. If you want to keep them longer, these cookies freeze beautifully! Place cooled cookies in a single layer on a baking sheet, freeze until solid, then transfer to a freezer-safe container with parchment layered in between. They stay fresh for up to 2 months. When you’re ready to enjoy, thaw them at room temperature or pop them in the microwave for a few seconds to bring back that fresh-baked texture. Avoid reheating in the oven for too long, as the jelly could burn or harden.
FAQs
How do I prevent my thumbprints from spreading too much?
Chill your dough for 20-30 minutes before shaping the cookies. Cold dough helps them hold their shape in the oven.
Can I use homemade jam for the filling?
Absolutely! Homemade jams add an even more personal touch and customizable flavor.
What if I don’t have unsalted butter?
You can use salted butter; just omit the 1/2 teaspoon of salt in the recipe to balance flavors.
Can these cookies be made gluten-free?
Yes, swap the all-purpose flour for your favorite gluten-free blend. Just watch the texture, as some blends may bake up a bit more crumbly.
Is it okay to freeze the dough instead of baked cookies?
Definitely! Shape and indent dough balls, freeze on a tray, then transfer to a bag or container. When ready to bake, fill with jelly and add 1-2 minutes to your bake time.
Conclusion
Best Jelly Thumbprint Cookies are a family-favorite treat that truly lives up to their name. With their buttery base, colorful centers, and endless possibilities for jam flavors, they’re a hit at holidays, bake sales, or as a fun weekend project. Plus, their simple ingredients and quick prep mean you can enjoy homemade cookies at a moment’s notice! Whether you’re an experienced baker or brand new to cookie making, this recipe promises success in every batch. So gather your ingredients and let’s fill your kitchen with the irresistible aroma of fresh, fruity thumbprint cookies—you’ll soon see why they’re the best!
Best Jelly Thumbprint Cookies
Equipment
- Mixing Bowl
- Baking Sheets
- Parchment Paper
- Hand Mixer
Ingredients
Ingredients
- 1 cup unsalted butter, softened
- 2/3 cup granulated sugar
- 1 teaspoon vanilla extract
- 2 cups all-purpose flour
- 1/2 teaspoon salt
- 1/2 cup fruit jelly or jam such as strawberry, raspberry, apricot, or your favorite
- 1 tablespoon powdered sugar optional, for dusting
Instructions
- Preheat your oven to 350°F (175°C). Line two baking sheets with parchment paper for easy cleanup.
- In a large mixing bowl, cream together the softened butter and granulated sugar using a hand mixer or stand mixer until the mixture is light and fluffy (about 2-3 minutes).
- Beat in the vanilla extract until fully incorporated.
- Add the flour and salt to the bowl. Mix on low speed until you achieve a soft, cohesive dough. Avoid over-mixing to keep the cookies tender.
- Using a tablespoon or small cookie scoop, portion out the dough and roll each piece into a smooth ball. Arrange the dough balls about 2 inches apart on the prepared baking sheets.
- Using your thumb (or the back of a teaspoon if you prefer), gently create an indent in the center of each dough ball, being careful not to press all the way through.
- Fill each indentation with about 1/2 teaspoon of your chosen jelly or jam, taking care not to overfill.
- Bake in the preheated oven for 12-14 minutes, or until the edges are just lightly golden.
- Let the cookies cool on the baking sheets for 5 minutes before transferring them to a wire rack to cool completely.
- Once cooled, dust with powdered sugar if desired, and enjoy!