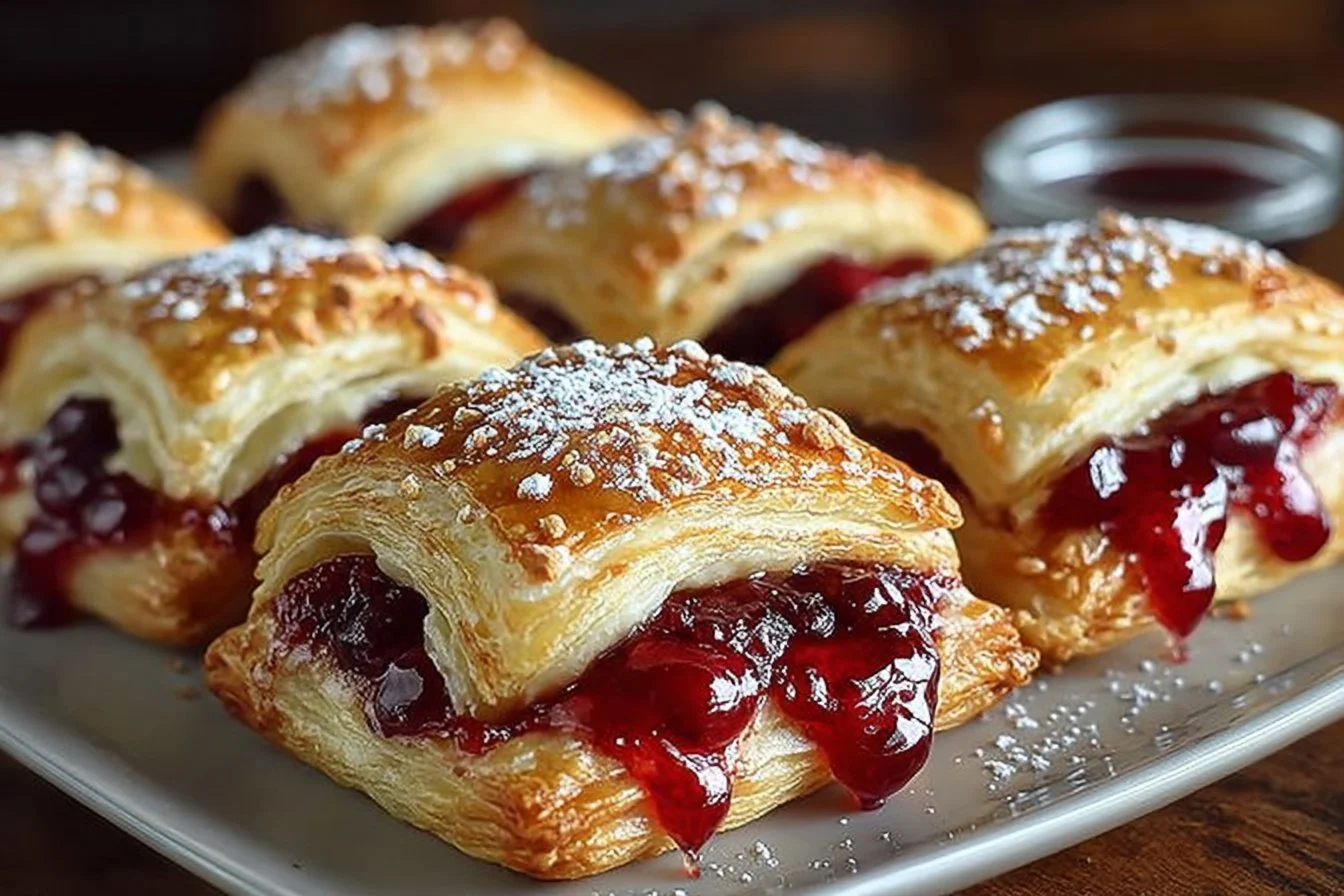
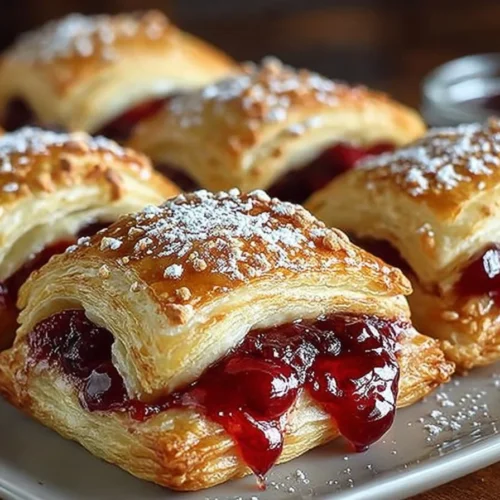
Get ready to fall in love with Cherry Pie Bites—the miniature dessert treat that’s taking home kitchens by storm! Imagine the sweet, bright flavors of tangy cherries cradled inside golden, flaky bites, all topped off with a dreamy vanilla glaze. These quick-to-make beauties prove that you don’t have to be a pastry chef to impress your guests or satisfy your sweet tooth. Fun fact: Cherry pies themselves have a rich history dating all the way back to the 1500s in England, but today we’re giving them a delicious, bite-sized twist perfect for busy families! These Cherry Pie Bites are a snap to prepare and ideal for little hands to help with, making them every parent’s secret weapon. If you love my Blueberry Lemon Mini Muffins, you’ll adore the simplicity and convenience of this recipe. Let’s dive in—your next favorite dessert is waiting!
What is Cherry Pie Bites?
Have you ever wanted to eat fluffy, cherry-filled pie but without the mess—or the need for a fork? Enter Cherry Pie Bites! These adorable morsels are the ideal grab-and-go dessert, delivering all the goodness of classic cherry pie in just one or two bites. Why call them bites? Because who has time to wait for a whole pie to bake and cool? They’re perfect for bake sales, potlucks, or that midnight snack attack. As the saying goes, the way to a man’s heart is through his stomach—and Cherry Pie Bites just might win everyone over. Ready to see why they’re so irresistible? Give them a try and let your tastebuds decide!
Why You’ll Love This
Cherry Pie Bites are all about crisp, golden pastry and a burst of fruity flavor. Their key highlight? A gooey, tart cherry filling wrapped in a delicate crescent roll dough—meaning you get that homemade dessert satisfaction without slaving over pie crusts. Making these bites at home is not only wallet-friendly (store-bought pastries can cost a fortune!), but it also means you control the quality of every ingredient. Plus, topping them with an easy vanilla glaze (and even a sprinkle of cinnamon) takes their flavor over the top. They offer the same fruity kick and comfort you’ll find in my Strawberry Shortcake Cups—but with even less prep and cleanup. If you’re ready to impress your family or friends, give these Cherry Pie Bites a whirl in your own kitchen!
How to Make
Quick Overview
Cherry Pie Bites are fabulously easy to prepare, making them a go-to for last-minute gatherings or sweet tooth emergencies. The beauty is in their simplicity: just five ingredients, 10 minutes of hands-on prep, and you’ll have a warm batch of treats fresh from the oven in under 30 minutes. With their buttery pastry and gooey, sweet filling, these bites are bound to be a new family favorite. They’re perfect for kids and adults alike, with a classic taste in a fun, portable package.
Ingredients
1 can cherry pie filling (about 21 oz)
1 package refrigerated crescent roll dough (8 oz)
1/4 cup powdered sugar
1-2 tablespoons milk
1/2 teaspoon vanilla extract
Optional: a sprinkle of cinnamon or sugar for extra flavor
Step-by-Step
- Preheat your oven to 375°F (190°C). Line a baking sheet with parchment paper or a silicone baking mat to keep the bites from sticking.
- Unroll the crescent roll dough and separate it into individual triangles along the pre-scored lines. Place them on the prepared baking sheet.
- Add about a tablespoon of cherry pie filling at the wider end of each crescent dough triangle. Be careful not to overfill—too much filling can make the dough difficult to roll and leak during baking.
- Gently roll up the dough, starting from the wide end, encasing the cherry filling inside. Tuck in the sides slightly to seal the filling as much as possible. Place each rolled bite seam-side down on the baking sheet.
- If you like, lightly sprinkle the tops of each bite with cinnamon or a bit of extra sugar for added flavor and crunch.
- Bake in the preheated oven for 12-15 minutes, or until the bites are golden brown and the dough is cooked through.
- While the bites cool slightly, prepare the glaze. In a small bowl, combine powdered sugar, 1 tablespoon of milk, and vanilla extract. Whisk until smooth, adding a bit more milk if needed for a drizzle-able consistency.
- Once the bites are cool enough to handle but still warm, drizzle generously with the vanilla glaze.
- Serve immediately, or let cool to room temperature for an easy, portable treat.
What to Serve Cherry Pie Bites With
Cherry Pie Bites pair beautifully with a scoop of vanilla ice cream for a decadent dessert. For a lighter option, serve them with fresh whipped cream or even a dollop of Greek yogurt. If you’re setting up a party spread, arrange them with other mini desserts like macarons or brownie bites for variety. They also go wonderfully with a steaming cup of coffee, black tea, or a cold glass of milk, making them perfect for breakfast or dessert.
Top Tips for Perfecting
For extra flaky bites, use very cold crescent dough straight from the fridge. Not a fan of cherry? Swap in apple, blueberry, or peach pie filling for a fun twist. To avoid soggy pastries, drain excess syrup from the pie filling with a slotted spoon before adding to the dough. If you want them extra crunchy, sprinkle a touch of coarse sugar on top before baking. Common mistake: be careful not to overfill, or the filling will spill out. If you’re feeling adventurous, add a pinch of nutmeg or even chocolate chips alongside the cherry filling!
Storing and Reheating Tips
Store any leftover Cherry Pie Bites in an airtight container at room temperature for up to two days. For longer storage, refrigerate for up to five days; just bring them to room temperature before serving or warm gently in the microwave for 10-15 seconds. To freeze, place cooled, unglazed bites in a single layer in a freezer-safe container, separating layers with parchment paper. They’ll keep for up to two months—simply thaw and reheat before glazing and serving for the best taste and texture.
FAQs
How do I prevent the cherry filling from leaking during baking?
Be careful not to overfill each bite. Securely tuck in the sides and place the rolled dough seam-side down on the baking sheet.
Can I use homemade pie filling instead of canned?
Absolutely! Homemade cherry pie filling works wonderfully—just be sure it isn’t too watery to avoid soggy dough.
Can I make these ahead of time?
Yes! You can prepare them up to a day ahead. Reheat briefly in the oven before serving, and glaze right before enjoying.
What other fillings can I use?
Try blueberry, apple, or even chocolate hazelnut spread for a different twist.
Are Cherry Pie Bites suitable for kids?
Definitely! They’re fun for kids to help make and perfectly portioned for little hands.
Conclusion
Cherry Pie Bites are proof that big flavors can come in tiny packages! These mini treats are quick to make, easy on your wallet, and endlessly customizable. Whether you’re craving a sweet snack, planning a party, or just looking for an easy dessert to brighten up your week, these bites deliver every time. With their flaky dough, sweet-tart filling, and luscious glaze, Cherry Pie Bites are destined to become a new family favorite. Give them a try, experiment with different fillings, and don’t forget to share your baking adventures with friends and family. Happy baking!
Cherry Pie Bites
Equipment
- Baking Sheet
- Mixing Bowl
Ingredients
Ingredients
- 1 can Cherry Pie Filling (about 21 oz)
- 1 package Refrigerated Crescent Roll Dough (8 oz)
- 1/4 cup Powdered Sugar
- 1-2 tablespoons Milk for glaze
- 1/2 teaspoon Vanilla Extract
- to taste Cinnamon or Sugar optional for topping
Instructions
- Preheat your oven to 375°F (190°C). Line a baking sheet with parchment paper or a silicone baking mat.
- Unroll the crescent roll dough and separate it into individual triangles along the pre-scored lines. Place them on the prepared baking sheet.
- Add about a tablespoon of cherry pie filling at the wider end of each crescent dough triangle. Be careful not to overfill.
- Gently roll up the dough, starting from the wide end, encasing the cherry filling inside. Tuck in the sides slightly to seal.
- If you like, lightly sprinkle the tops of each bite with cinnamon or a bit of extra sugar.
- Bake in the preheated oven for 12-15 minutes, or until golden brown.
- While the bites cool slightly, prepare the glaze by whisking together powdered sugar, milk, and vanilla extract until smooth.
- Drizzle the vanilla glaze over the warm bites before serving.
2 comments
1pSfN2fGj
1*732*727*0