If you’re searching for the ultimate nostalgic treat that’s crisp, buttery, and incredibly simple to whip up, look no further than Washboard Cookies. These delightful cookies harken back to simpler times, filling your kitchen with the irresistible aroma of home-baked goodness. They’re named for their playful ridged pattern, and every bite offers a satisfying crunch with a subtle sweetness that’s perfect for any occasion. Did you know that Washboard Cookies have been a classic in Canadian kitchens for generations, often passed down through family recipe cards? Whether you’re baking with kids or looking for a quick treat to share at your next gathering, these cookies come together in under an hour and require everyday pantry ingredients. If you loved our classic Oatmeal Raisin Cookies, you’ll adore this buttery twist—simple, cheerful, and always a winner. Give these Washboard Cookies a try, and prepare to make them a family favorite!
What is Washboard Cookies?
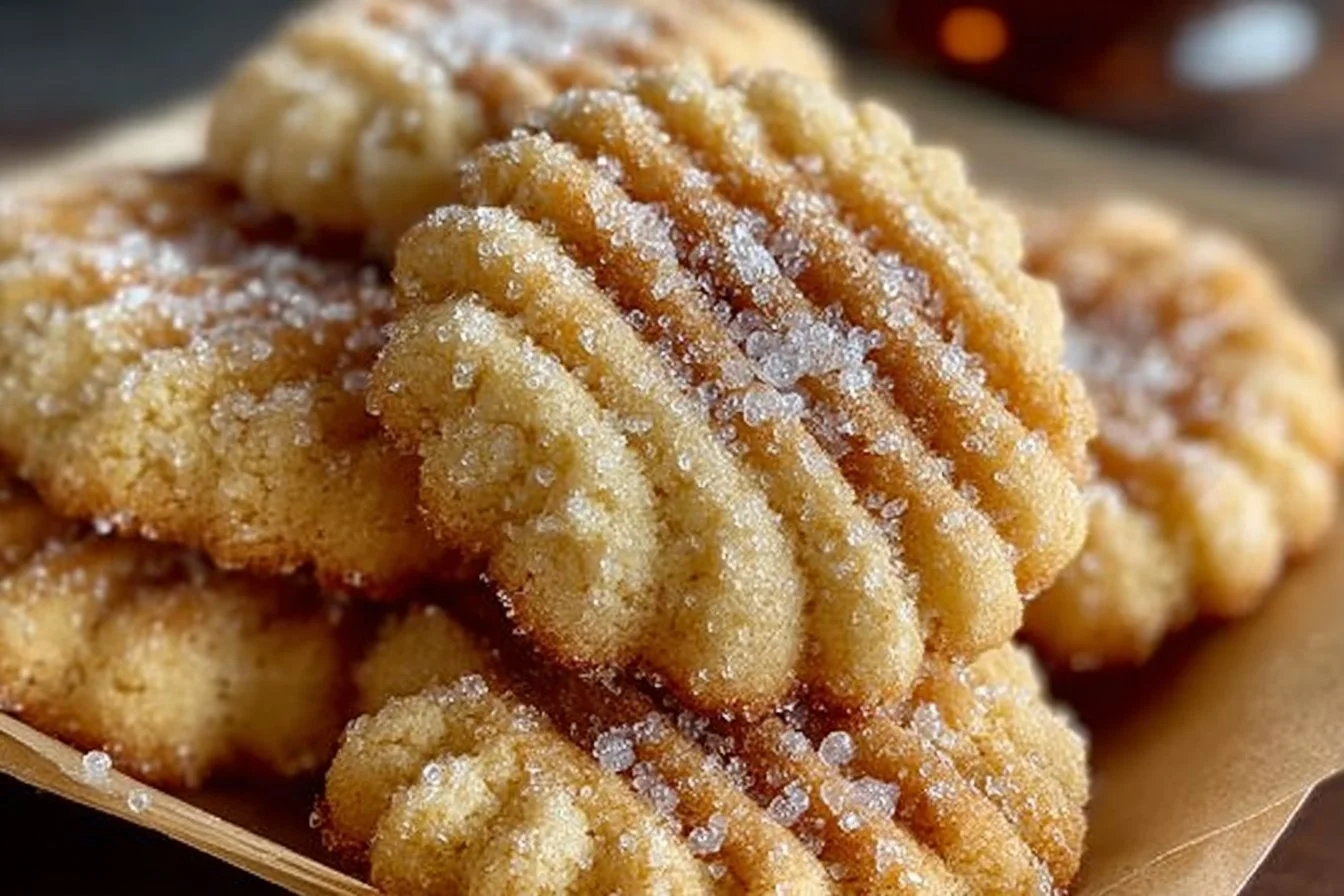
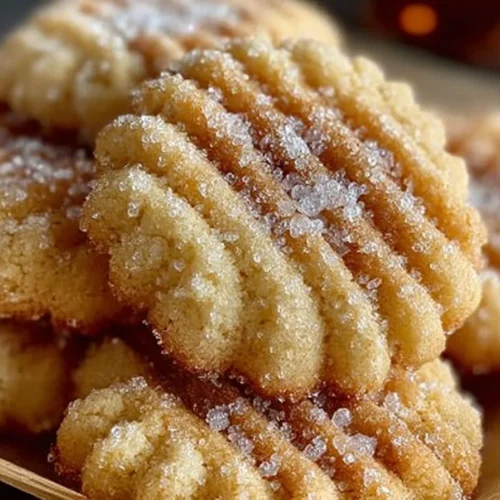
Ever wondered where the whimsical name “Washboard Cookies” comes from? No, you don’t need any laundry skills here! These treats earned their name from the ridged design pressed onto their tops—reminiscent of an old-fashioned washboard. Funny enough, the saying goes, “The way to a man’s heart is through his stomach,” and this cookie proves it’s true for the whole family! Sweet, crunchy, and full of character, Washboard Cookies are as fun to make as they are to eat. Ready for a little kitchen adventure? Grab your apron and give these charming cookies a try—your taste buds will thank you!
Why You’ll Love This Washboard Cookies Recipe
Washboard Cookies have a unique charm that sets them apart from your average cookie. The true highlight? Their irresistible buttery flavor and perfectly crisp texture that will have you reaching for “just one more.” Making these at home is not only cost-effective compared to bakery prices, but you also get to enjoy that fresh-from-the-oven experience whenever you crave it. What makes them extra special are the simple, classic ingredients—like pure vanilla and creamy butter—that create a flavor profile both kids and adults love. If you enjoy the melt-in-your-mouth sensation of our Sugar Shortbread Cookies, you’ll definitely want to add Washboard Cookies to your baking repertoire. Don’t miss out; give these a bake and enjoy an old-fashioned treat that’s always in style!
How to Make Washboard Cookies
Quick Overview
Washboard Cookies are the epitome of easy baking! They require no fancy equipment or hard-to-find ingredients—just a bowl, a wooden spoon, and the basics you likely already have in your pantry. Thanks to their simple preparation and short baking time (about 30 minutes, start to finish), these cookies are perfect for last-minute cravings or when you want to impress guests with something sweet and homemade. The standout element is their slightly chewy interior paired with a delicately crisp, ridged top—totally addictive!
Ingredients
- 1 cup unsalted butter, softened
- 1 cup granulated sugar
- 1 teaspoon vanilla extract
- 2 cups all-purpose flour
- 1/2 teaspoon baking powder
- 1/4 teaspoon salt
- 2 tablespoons milk
Step-by-Step Instructions
Step 1: Preheat and Prepare
Preheat your oven to 350°F (175°C). Line two large baking sheets with parchment paper or silicone baking mats.
Step 2: Cream Butter and Sugar
In a large mixing bowl, cream together the softened butter and sugar until the mixture is light and fluffy. This usually takes about 2–3 minutes with a hand mixer or sturdy wooden spoon.
Step 3: Add Vanilla
Add the vanilla extract and mix gently until incorporated.
Step 4: Combine Dry Ingredients
In a separate bowl, whisk together the all-purpose flour, baking powder, and salt. Gradually blend the dry ingredients into the butter mixture, working slowly to avoid any lumps.
Step 5: Add Milk
Pour in the milk and mix just until combined. Don’t overmix—your goal is a soft, cohesive dough.
Step 6: Shape the Dough
Scoop out tablespoon-sized portions of dough and roll them into balls. Place them on the prepared baking sheets, leaving about 2 inches between each.
Step 7: Create the Washboard Pattern
Using a fork, gently press down each ball to flatten and create the signature ridged “washboard” pattern on top.
Step 8: Bake
Bake in the preheated oven for 15–18 minutes, or until the edges turn a light golden brown and the tops look set.
Step 9: Cool and Serve
Allow the cookies to cool on the baking sheets for a few minutes before transferring them to wire racks to cool completely.
What to Serve Washboard Cookies With
Washboard Cookies are delicious all on their own, but they shine even brighter alongside a variety of cozy companions. Serve them with a tall glass of cold milk for a classic combination kids will love. For an elegant twist, pair them with afternoon tea or coffee at your next get-together. They also make a wonderful dessert addition to a platter of fruit and cheese, or even alongside a scoop of vanilla ice cream for an extra indulgent treat!
Top Tips for Perfecting Washboard Cookies
- Swap Sugars: For a richer flavor, try substituting half of the granulated sugar with light brown sugar.
- Butter Balance: If you only have salted butter, simply reduce the amount of added salt to a pinch.
- Mix Gently: Avoid overmixing the dough—this helps keep the cookies tender rather than tough.
- Flavor Variations: Add a sprinkle of cinnamon or lemon zest for a different flavor twist.
- Even Baking: To ensure even baking, rotate your cookie sheets halfway through the baking time.
Storing and Reheating Tips
Washboard Cookies store wonderfully and maintain their freshness for days. Place cooled cookies in an airtight container at room temperature for up to 1 week. If you’d like to keep them longer, layer the cookies between sheets of parchment paper and freeze in a zip-top bag or freezer-safe container for up to 3 months. To enjoy from frozen, let the cookies thaw at room temperature—no need to reheat, but a quick 5-minute warm-up in a low oven can revive that fresh-baked aroma!
FAQs
Can I use margarine instead of butter?
Yes, you can substitute margarine, but real butter gives the cookies their signature rich flavor!
Can I freeze the dough ahead of time?
Absolutely. Simply shape the dough into balls, place on a tray, freeze, then transfer to a freezer bag. Defrost and bake as needed.
Why did my cookies come out flat?
Overmixing or using overly soft butter can cause spreading. Try chilling your dough for 10–15 minutes before baking.
Can I add mix-ins like nuts or coconut?
Definitely! Chopped nuts, coconut flakes, or even mini chocolate chips can be mixed into the dough for added texture and flavor.
Do I need to use a fork for the ridges?
A fork is traditional, but you can use any tool to score the cookies—get creative with a pastry cutter or even a clean comb (just for baking!).
Conclusion
Washboard Cookies are a celebration of classic home-baking—easy, affordable, and utterly delicious. With their beautifully crisp edges, buttery soft centers, and charming ridged tops, they’re a joy to make and share. Whether you’re reviving family traditions or trying them for the first time, these cookies promise to be a hit with everyone who takes a bite. Serve them at your next event, tuck them into lunchboxes, or keep a stash on hand for whenever you need a comforting treat. Happy baking—and don’t forget to explore more recipes on the blog for your next sweet adventure!
Washboard Cookies
Equipment
- Mixing Bowl
- Baking Sheets
- Parchment Paper
- Fork
Ingredients
Ingredients
- 1 cup Unsalted Butter, softened
- 1 cup Granulated Sugar
- 1 teaspoon Vanilla Extract
- 2 cups All-Purpose Flour
- 1/2 teaspoon Baking Powder
- 1/4 teaspoon Salt
- 2 tablespoons Milk
Instructions
- Step 1: Preheat your oven to 350°F (175°C). Line two large baking sheets with parchment paper or silicone baking mats.
- Step 2: In a large mixing bowl, cream together the softened butter and sugar until light and fluffy, about 2–3 minutes.
- Step 3: Add the vanilla extract and mix gently until incorporated.
- Step 4: In a separate bowl, whisk together the flour, baking powder, and salt. Gradually blend the dry ingredients into the butter mixture.
- Step 5: Pour in the milk and mix just until combined to form a soft dough.
- Step 6: Scoop out tablespoon-sized portions of dough, roll into balls, and place on the prepared baking sheets.
- Step 7: Using a fork, gently press down each ball to flatten and create the ridged pattern on top.
- Step 8: Bake for 15–18 minutes, or until the edges are light golden brown and the tops look set.
- Step 9: Allow the cookies to cool on the baking sheets for a few minutes before transferring to wire racks to cool completely.