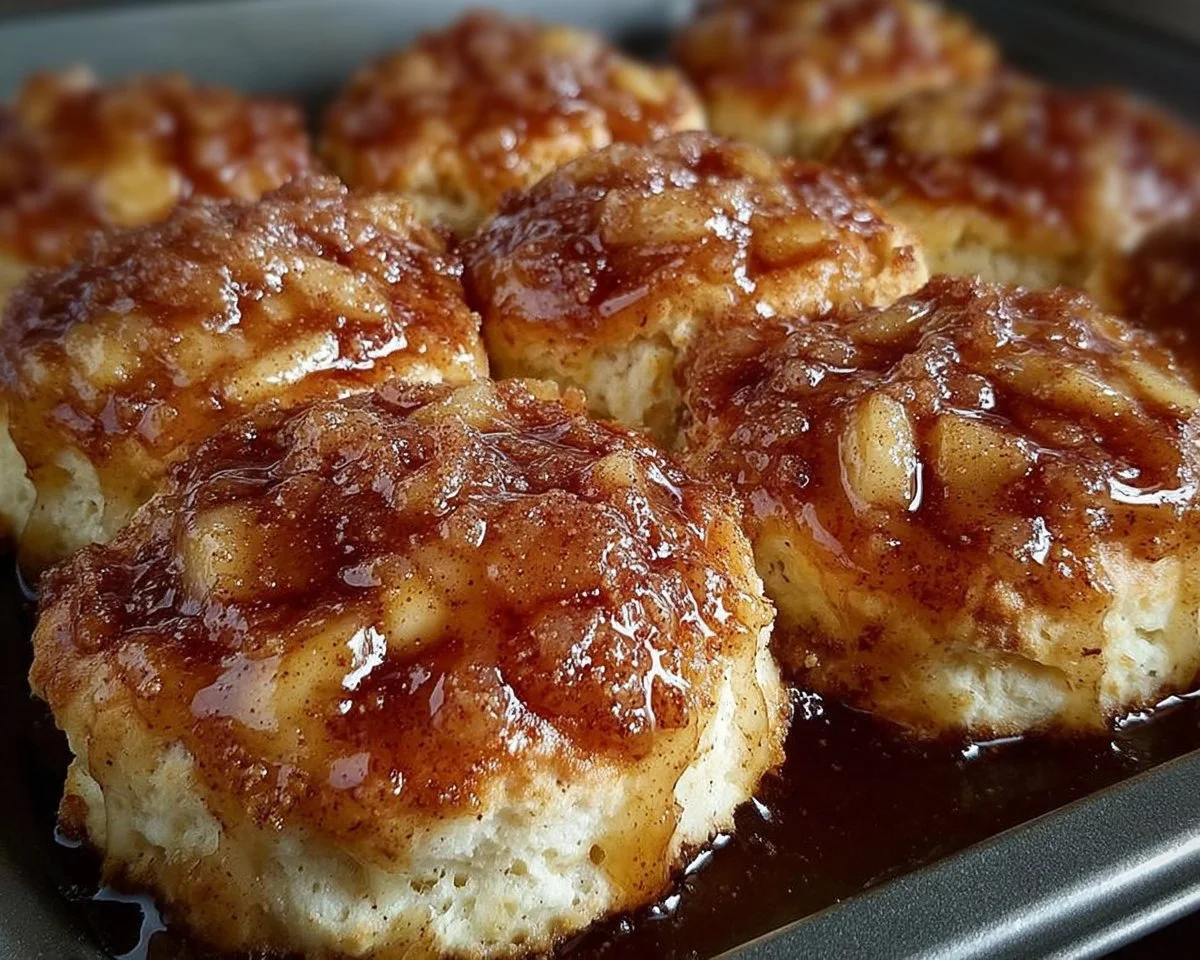
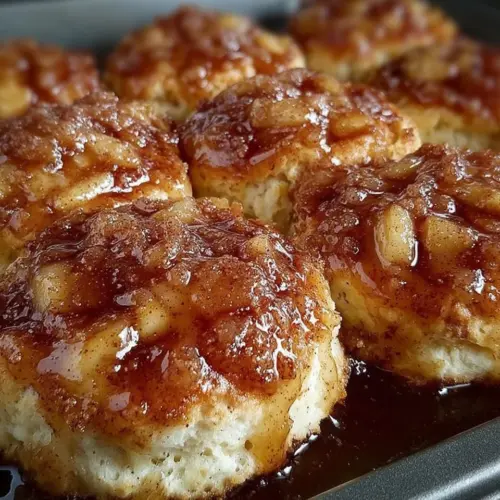
Creamy, juicy, and wonderfully comforting, these Apple Pie Biscuits are the kind of warm, flaky treat that makes any afternoon feel like a holiday. Imagine golden-brown biscuit pockets filled with spiced apple pie filling, finished with a buttery cinnamon glaze — irresistible and simple. Fun fact: many cooks first learned this idea as a quick way to turn leftover pie filling into portable treats, which is probably how it got so beloved. If you like quick, shareable desserts that feel homemade without hours in the kitchen, you’ll love this recipe.
This version is especially appealing because it uses pantry staples and a biscuit can for speed. It’s family-friendly, great for potlucks, and perfect for a busy weeknight dessert. If you enjoy playful apple desserts, you might also enjoy our twist on handheld treats like Apple Pie Bombs, a similarly cozy fall favorite. Get ready to bake — these come together fast and vanish faster.
What is Apple Pie Biscuits?
What’s in a name? Apple Pie Biscuits are exactly what they sound like: soft, pillowy biscuits wrapped around sweet apple pie filling. Who decided to call them that — a baker with a sense of humor or someone craving portability? Either way, the name sticks because it captures the best of both worlds: the comfort of pie and the simplicity of biscuits. Why fuss with a full pie when you can pop a little pocket of apple bliss into your mouth? After all, they say “the way to a man’s heart is through his stomach.” So grab a baking sheet and try them — you might just win a few hearts.
Why You’ll Love This
First, the main highlight is that each biscuit gives you a perfect balance of warm, spiced apple and flaky biscuit — sweet, cinnamony, and tender. Second, it’s a cost-saving winner: using canned biscuit dough and canned filling keeps the ingredient list short and the price low while still feeling special. Third, the buttery spiced coating (brown sugar, cinnamon, nutmeg) adds a glossy, extra-layered flavor that makes these biscuits stand out.
These are far quicker than making a traditional apple pie and less fussy than a galette, and if you enjoy richer bread-based desserts, you might also like our comforting Apple Pie Bread Pudding for a more custardy, shareable option. Try these for a weekday treat or a weekend brunch — you’ll be amazed how often they disappear.
How to Make:
Quick Overview
This recipe is simple and forgiving: you’ll fill and seal store-bought biscuits, toss them in a spiced buttery coating, and bake until golden. The result is a soft, warm center with a crisp, caramel-like exterior. Prep time is about 10–15 minutes, and baking time follows your biscuit can instructions (usually 10–15 minutes). Total time: roughly 25–30 minutes.
Ingredients
- 1 can buttermilk biscuits (exactly 1 can, store-bought), room temperature for easier handling
- 1 can apple pie filling (15–21 ounces depending on brand), spoonable consistency, drained slightly if very syrupy
- 1/2 cup butter, melted and warm
- 1/2 cup brown sugar, packed
- 1 tablespoon cinnamon, ground
- 1/8 teaspoon nutmeg, ground
- 1 teaspoon vanilla extract
Directions
- Preheat your oven according to the biscuit package instructions. Arrange a rack in the center of the oven for even baking. Line a baking sheet with parchment paper.
- In a medium bowl, whisk together the melted butter, brown sugar, cinnamon, nutmeg, and vanilla extract until smooth and the sugar starts to dissolve. This is your coating — keep a little to drizzle later.
- Open the biscuit can and separate the biscuits. Flatten each biscuit slightly with your hands into a small disk about 3 to 4 inches across; don’t make them paper-thin — you want some dough to seal around the filling.
- Add a spoonful (about 1 to 1½ tablespoons) of apple pie filling to the center of each biscuit disk. Be careful not to overfill; too much filling can leak while baking. If the apple slices are large, chop them a bit for easier sealing.
- Fold the biscuit over the filling and pinch the edges firmly to seal, creating a tight pocket. If a small tear appears, press and pinch to mend it; you can moisten the edge slightly with water to help it stick.
- Dip each sealed biscuit into the butter and brown sugar mixture, coating it well on all sides. Use tongs or your hands and let any excess drip off. Place the coated biscuits on the parchment-lined baking sheet, spaced at least 1 inch apart.
- Bake according to the biscuit package instructions or until the biscuits are puffed and golden brown on top, usually 10–15 minutes. Rotate the pan halfway through baking for even color.
- Remove from the oven and immediately drizzle any remaining butter mixture over the top of the hot biscuits for shine and extra flavor. Let cool for 3–5 minutes before serving so the filling sets slightly. Enjoy warm!

What to Serve With
- Warm caramel sauce or vanilla glaze for extra decadence
- A scoop of vanilla ice cream for contrast between hot and cold
- Fresh fruit salad or sliced apples for balance and brightness
- A light green salad with lemon vinaigrette if serving as a dessert after a hearty meal
- Coffee, chai tea, or a spiced cider to complement the cinnamon and nutmeg
Top Tips for Perfecting
- Use room-temperature biscuits so they’re easier to stretch and seal without tearing.
- If your apple pie filling is very syrupy, drain some syrup so the biscuits don’t leak during baking. You can stir a little syrup into the butter mixture for drizzling instead.
- For an extra-crisp exterior, brush each pocket with melted butter again just before baking.
- Try a mix of brown and white sugar if you want a lighter caramel flavor.
- Avoid overfilling — smaller spoonfuls lead to neater pockets and fewer leaks.
Storing and Reheating Tips
Refrigeration: Store leftover biscuits in an airtight container in the refrigerator for up to 3 days. Let them cool completely before sealing to avoid sogginess.
Freezing: Freeze baked and cooled biscuits in a single layer on a tray until firm, then transfer to a freezer-safe bag for up to 1 month. Thaw overnight in the fridge before reheating.
Reheating: Reheat in a 350°F oven for 8–10 minutes or until warmed through to preserve crisp edges. Avoid microwaving if you want to keep the exterior slightly crisp; microwave for short bursts only if convenience is higher priority.
Shelf life: Best enjoyed the day of baking, but still delicious within 2–3 days refrigerated.
FAQs
Can I use homemade biscuit dough instead of the canned biscuits?
Yes. Homemade biscuit dough works beautifully. Use a similar-sized dough portion and follow the same filling and sealing method, adjusting baking time as needed.
Will the apple filling leak while baking?
It can if overfilled or if the filling is too runny. Use small spoonfuls and drain excess syrup. Pinch seams tightly and patch any tears with extra dough.
Can I make these ahead of time and bake later?
You can assemble the pockets and refrigerate them on the baking sheet for up to 24 hours before baking. Bring them to room temperature for 10–15 minutes before baking.
What other fillings work in this recipe?
Try cherry pie filling, peach filling, Nutella with banana slices, or a cream cheese and jam mixture for sweet variations.
Can I add nuts or oats to the coating?
Yes — finely chopped pecans or a sprinkle of quick oats mixed with the brown sugar will add texture and flavor. Press gently so they stick.
Conclusion
If you want a quick, comforting dessert that tastes like homemade apple pie without the time, these Apple Pie Biscuits are a wonderful choice. They’re simple to prepare, family-friendly, and delightfully portable — perfect for brunch, dessert, or a cozy snack. Try this recipe this week and share the warm, spiced goodness with friends or family. For another take on apple-filled bites and expert inspiration, check out Baking Bootcamp: Apple Pie Biscuits – Joy the Baker.
Apple Pie Biscuits
Equipment
- Baking Sheet
- Mixing Bowl
- Parchment Paper
Ingredients
Ingredients
- 1 can Buttermilk biscuits Room temperature for easier handling
- 1 can Apple pie filling 15–21 ounces, drained slightly if very syrupy
- 1/2 cup Butter Melted and warm
- 1/2 cup Brown sugar Packed
- 1 tablespoon Cinnamon Ground
- 1/8 teaspoon Nutmeg Ground
- 1 teaspoon Vanilla extract
Instructions
- Preheat your oven according to the biscuit package instructions. Arrange a rack in the center of the oven for even baking. Line a baking sheet with parchment paper.
- In a medium bowl, whisk together the melted butter, brown sugar, cinnamon, nutmeg, and vanilla extract until smooth and the sugar starts to dissolve. This is your coating — keep a little to drizzle later.
- Open the biscuit can and separate the biscuits. Flatten each biscuit slightly with your hands into a small disk about 3 to 4 inches across; don’t make them paper-thin — you want some dough to seal around the filling.
- Add a spoonful (about 1 to 1½ tablespoons) of apple pie filling to the center of each biscuit disk. Be careful not to overfill; too much filling can leak while baking.
- Fold the biscuit over the filling and pinch the edges firmly to seal, creating a tight pocket. If a small tear appears, press and pinch to mend it; you can moisten the edge slightly with water to help it stick.
- Dip each sealed biscuit into the butter and brown sugar mixture, coating it well on all sides. Use tongs or your hands and let any excess drip off. Place the coated biscuits on the parchment-lined baking sheet, spaced at least 1 inch apart.
- Bake according to the biscuit package instructions or until the biscuits are puffed and golden brown on top, usually 10–15 minutes. Rotate the pan halfway through baking for even color.
- Remove from the oven and immediately drizzle any remaining butter mixture over the top of the hot biscuits for shine and extra flavor. Let cool for 3–5 minutes before serving so the filling sets slightly. Enjoy warm!