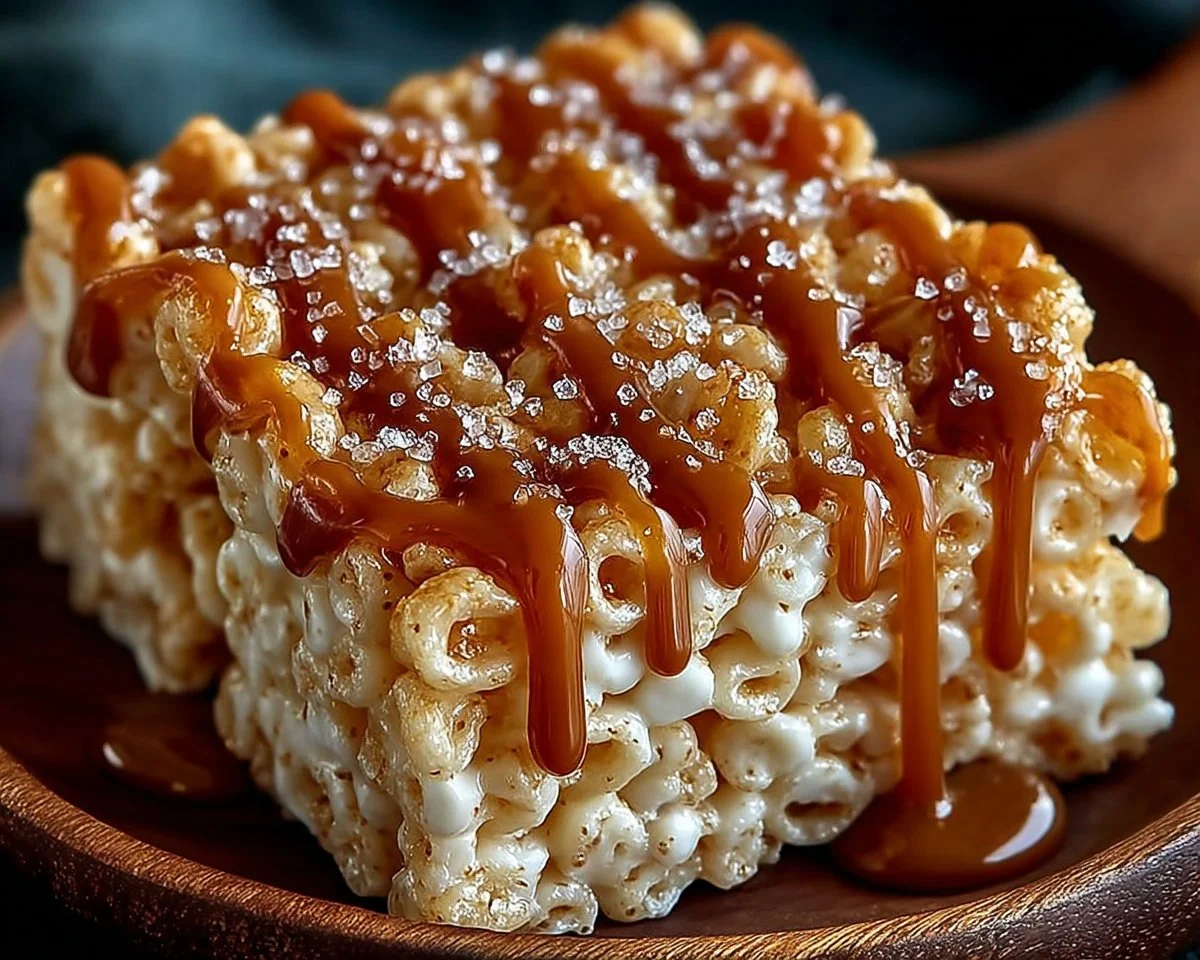
Creamy, crunchy, and irresistibly sweet with a whisper of sea salt — these Salted Caramel Rice Krispie Treats are the kind of dessert that disappears before you can say “seconds.” They combine the nostalgic chew of classic Rice Krispie treats with a deeply flavored homemade salted caramel for an upgrade that’s both simple and show-stopping. Fun fact: the Rice Krispie treat was invented in the 1930s as a quick, no-bake family treat — and now we’ve added a grown-up twist that still delights kids.
This recipe is perfect for busy bakers who want big flavor without fuss. It’s quick to prepare, family-friendly, and makes a great last-minute dessert for potlucks or weeknight movie nights. If you love the balance of sweet and salty, this is a must-try — and if you’re curious about other variations, I also recommend checking out this salted caramel Rice Krispie recipe for a slightly different spin. Ready to make something comforting and addictive? Let’s get cooking!
What is Salted Caramel Rice Krispie Treats?
What do you get when you marry childhood nostalgia with a caramel lover’s dream? Salted Caramel Rice Krispie Treats, of course. How did they get their name — because of course everything sounds better with “salted caramel” in front of it, right? Who decided that sprinkling a little sea salt over sticky caramel was a genius move? Probably someone who knew that “the way to a man’s heart is through his stomach.” Maybe it’s called this because the caramel takes the simple marshmallow base to extravagant heights, or maybe the name just made us hungry.
Either way, they’re gooey, crispy, and salty-sweet in the best possible way. Intrigued? Give them a try — you might find yourself explaining to friends why you suddenly call classic Rice Krispies “decadent.”
Why You’ll Love This:
- Big flavor upgrade: The homemade salted caramel brings deep, buttery richness that balances the marshmallow sweetness. The sea salt lift on top keeps each bite interesting.
- Cost-effective and easy: Making salted caramel at home is cheaper than buying gourmet sauces, and you only need pantry staples to assemble the treats.
- Crowd-pleaser: These are a hit with kids and adults alike — soft, chewy centers with a crispy Rice Krispie bite and an indulgent caramel finish.
If you’re a fan of crunchy-sweet treats, these stand out thanks to texture contrast and layered flavor. They’re similar in comfort to other cereal-based sweets but more grown-up, and if you’re curious about a chocolate-forward cousin, try our take on chocolate Rice Krispie balls for another fun dessert idea. Don’t wait — make a batch and watch them vanish!
How to Make:
Quick Overview
This recipe is a no-fuss mash-up of classic Rice Krispie treats and a silky salted caramel sauce. The marshmallow-butter mixture binds the cereal for a soft, chewy base, while the caramel adds a deep, buttery finish with just the right pinch of salt. Preparation is straightforward: you’ll make the marshmallow layer first, press it into a pan, then cook a quick stovetop caramel and drizzle it over the cooled bars. Total hands-on time is short, and the result is decadent yet familiar.
Approximate time: 10 minutes prep for the marshmallow layer, 10 minutes for the caramel, plus about 30 minutes cooling. Total about 50 minutes to set.
Ingredients
- 4 tablespoons unsalted butter, room temperature (for the marshmallow mixture)
- 10 ounces marshmallows (about 4 cups mini or 10 oz bag), unwrapped
- 6 cups Rice Krispies cereal, measured and ready
- 1/4 teaspoon salt, added to the marshmallow mixture
- 1 cup granulated sugar, for the caramel sauce
- 6 tablespoons unsalted butter, cubed (for the caramel sauce; keep chilled or room temp as preferred)
- 1/2 cup heavy cream, warmed slightly (for the caramel sauce)
- 1 teaspoon sea salt, stirred into the caramel sauce
- 1/2 cup caramel sauce (homemade or store-bought), extra for drizzling if desired
- Sea salt, for sprinkling on top (fine or flaky, to taste)
Directions
- Prepare the pan: Grease a 9×13-inch baking dish lightly with butter or nonstick spray and set nearby. Line with parchment if you prefer easier removal.
- Make the Rice Krispie base: In a large saucepan over low heat, melt 4 tablespoons unsalted butter. Add 10 ounces marshmallows and stir continuously until completely melted and smooth — about 3 to 5 minutes. Remove from heat, stir in 1/4 teaspoon salt, then fold in 6 cups Rice Krispies cereal until every piece is coated. Press the mixture evenly and gently into the prepared 9×13-inch dish using a buttered spatula or wax paper. Try not to press too hard; you want some air for chewiness. Set aside to cool while you make the caramel.
- Make the salted caramel sauce: In a medium saucepan over medium heat, add 1 cup granulated sugar. Stir constantly with a heatproof spatula or wooden spoon as the sugar melts — it will clump first, then liquefy and turn a deep amber color. Watch closely to avoid burning. Once amber, add the 6 tablespoons cubed butter and stir until melted. Slowly and carefully pour in the 1/2 cup warm heavy cream while stirring; the mixture will bubble up vigorously, so stand back a bit. Stir until smooth and glossy. Remove from heat and stir in 1 teaspoon sea salt. Allow the caramel to cool for a few minutes so it thickens slightly — you want it pourable but not piping-hot.
- Assemble and finish: Once the Rice Krispie layer has cooled to room temperature but is still slightly tacky, drizzle the salted caramel sauce evenly over the top. For extra indulgence, drizzle an additional 1/2 cup caramel sauce and finish with a light sprinkle of sea salt. Let the whole pan cool until the caramel sets, about 20 to 30 minutes, then cut into squares and serve. Enjoy these decadent Salted Caramel Rice Krispie Treats!
What to Serve With:
- Cold milk (whole or oat milk) — classic and refreshing with the sweetness.
- Coffee or espresso — the caramel and coffee pairing is heavenly for adults.
- Fresh berries — a bright, tart contrast that cuts richness.
- Vanilla ice cream — serve a warm treat over a scoop for a dessert mash-up.
- A light fruit salad — balances texture and adds freshness to a dessert spread.
Top Tips for Perfecting:
- Sugar melting: When making caramel, do not walk away. Sugar can burn quickly. Use a heavy-bottomed pan for even heat.
- Warm your cream: Warming the cream slightly before adding reduces the shocking temperature change and prevents excessive splattering.
- Pressing the base: Press the Rice Krispie mixture gently. Over-packing yields a dense bar; gentle pressure keeps chewiness.
- Salt choice: Use flaky sea salt for sprinkling — it gives a satisfying crunch and bursts of saltiness.
- Make-ahead tip: You can make the caramel up to three days ahead and store in the refrigerator. Warm gently before drizzling.
- Substitutions: Use vegan marshmallows and vegan butter to make a dairy-free version; use coconut cream in place of heavy cream for a coconut-caramel twist.
Storing and Reheating Tips:
- Room temperature: Store in an airtight container at room temperature for up to 2 days to keep the cereal crisp and caramel soft.
- Refrigerator: If you prefer a firmer bite or if your kitchen is warm, refrigerate in an airtight container for up to 5 days. Allow to come to room temperature for 15 minutes before serving for optimal chew.
- Freezing: Wrap individual squares in plastic wrap and store in a freezer bag for up to 2 months. Thaw at room temperature for 1 hour before serving.
- Reheating: If you like warm caramel, gently microwave a single square for 7–10 seconds on medium power. Avoid overheating to prevent the cereal from getting soggy.
FAQs
What if my sugar crystallizes while making the caramel?
If sugar crystals form, try adding a tablespoon of water at the beginning next time and avoid stirring once the sugar begins to melt. If it already crystallized, start over with a clean pan — crystallized caramel is hard to salvage.
Can I use store-bought caramel sauce instead of making it?
Yes — a high-quality store-bought caramel will work fine. Heat it slightly for easier drizzling and stir in 1/4 to 1/2 teaspoon sea salt to mimic the homemade salted caramel flavor.
How do I get the caramel to be the right thickness for drizzling?
Let the caramel cool 5 to 10 minutes after removing from heat. It should thicken slightly but remain pourable. If it cools too much, gently warm it for a few seconds.
Can I make these gluten-free?
Yes — use a certified gluten-free puffed rice cereal as a substitute for Rice Krispies, and verify that all other ingredients are gluten-free.
Why did my Rice Krispie treats become hard instead of chewy?
Overheating or over-pressing the mixture can lead to hard bars. Melt marshmallows over low heat and press the mixture gently into the pan.
Conclusion
These Salted Caramel Rice Krispie Treats are simple to make, delightfully crunchy and chewy, and bursting with rich caramel flavor balanced by a touch of sea salt — perfect for sharing with family, bringing to parties, or keeping on hand for sweet cravings. They prove that a few pantry staples plus a little caramel finesse can transform a childhood favorite into a dessert with grown-up appeal. For an additional take on this classic with extra tips and variations, check out Salted Caramel Rice Krispie Treats – Our Best Bites. Enjoy, and don’t forget to save a square (or two) for someone special.
Salted Caramel Rice Krispie Treats
Equipment
- Large saucepan
- 9x13 inch Baking Dish
- Spatula
Ingredients
Marshmallow Mixture
- 4 tablespoons Unsalted Butter Room temperature
- 10 ounces Marshmallows About 4 cups mini or 10 oz bag, unwrapped
- 6 cups Rice Krispies Cereal Measured and ready
- 1/4 teaspoon Salt Added to the marshmallow mixture
Salted Caramel Sauce
- 1 cup Granulated Sugar For the caramel sauce
- 6 tablespoons Unsalted Butter Cubed, for the caramel sauce
- 1/2 cup Heavy Cream Warmed slightly, for the caramel sauce
- 1 teaspoon Sea Salt Stirred into the caramel sauce
- 1/2 cup Caramel Sauce Homemade or store-bought, extra for drizzling if desired
Topping
- Sea Salt For sprinkling on top, to taste
Instructions
- Prepare the pan: Grease a 9×13-inch baking dish lightly with butter or nonstick spray and set nearby. Line with parchment if you prefer easier removal.
- Make the Rice Krispie base: In a large saucepan over low heat, melt 4 tablespoons unsalted butter. Add 10 ounces marshmallows and stir continuously until completely melted and smooth — about 3 to 5 minutes. Remove from heat, stir in 1/4 teaspoon salt, then fold in 6 cups Rice Krispies cereal until every piece is coated. Press the mixture evenly and gently into the prepared 9×13-inch dish using a buttered spatula or wax paper. Set aside to cool while you make the caramel.
- Make the salted caramel sauce: In a medium saucepan over medium heat, add 1 cup granulated sugar. Stir constantly as the sugar melts — it will clump first, then liquefy and turn a deep amber color. Once amber, add the 6 tablespoons cubed butter and stir until melted. Slowly pour in the 1/2 cup warm heavy cream while stirring; the mixture will bubble up. Stir until smooth and glossy. Remove from heat and stir in 1 teaspoon sea salt. Allow the caramel to cool for a few minutes so it thickens slightly.
- Assemble and finish: Once the Rice Krispie layer has cooled to room temperature but is still slightly tacky, drizzle the salted caramel sauce evenly over the top. For extra indulgence, drizzle an additional 1/2 cup caramel sauce and finish with a light sprinkle of sea salt. Let the whole pan cool until the caramel sets, about 20 to 30 minutes, then cut into squares and serve.