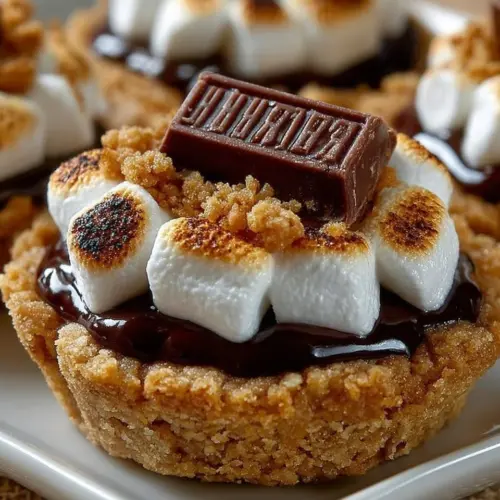
Creamy, crunchy, gooey — Mini S’mores Cups bring all the campfire nostalgia into a single bite-sized treat that melts in your mouth. These adorable cups combine a graham-like cookie crust, a fluffy marshmallow center, and a square of melty chocolate on top for pure, portable indulgence. Fun fact: s’mores were first mentioned in a 1927 Girl Scouts cookbook, so they’re practically a national pastime. Whether you’re feeding kids after school, hosting a movie night, or making a last-minute dessert for guests, these cups deliver big flavor with minimal fuss.
This recipe is delightfully simple and quick to pull together, so even busy weeknights can end on a sweet note. If you enjoy rich handheld desserts, you might also love my twist on brownies — check out these brownie cheesecake cups for another crowd-pleasing option. Read on to learn why Mini S’mores Cups should be your next baking win.
What is Mini S’mores Cups?
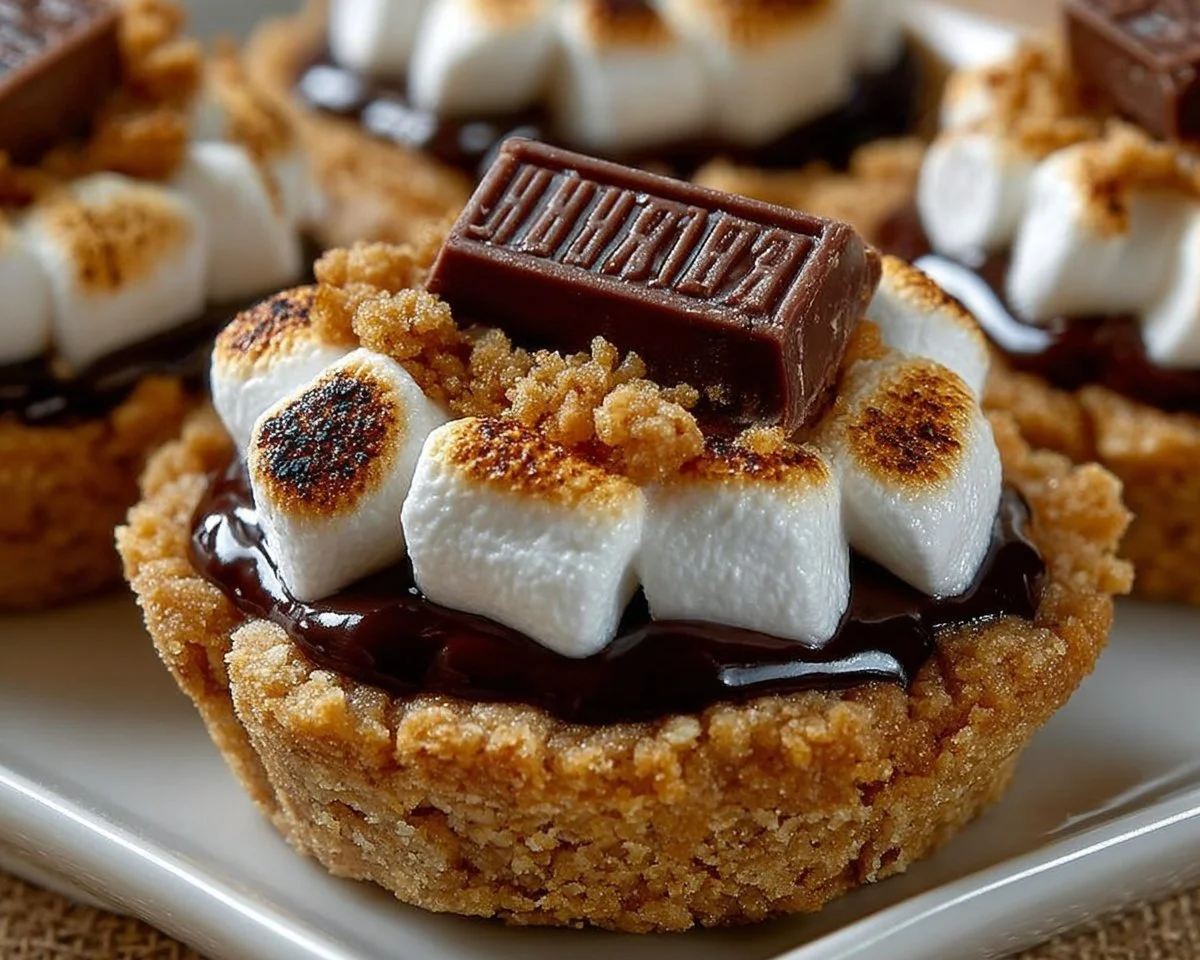
What’s in a name? Mini S’mores Cups are tiny, handheld versions of the classic campfire s’more — think cookie-like cups filled with a toasted marshmallow and capped with chocolate. Why “cups”? Because the dough is pressed into mini muffin tins to form little nests that hold the gooey goodness. Did someone call this a clever inventor’s snack or just a way to avoid sticky fingers around the campfire? Either way, it proves the old joke right: “the way to a man’s heart is through his stomach.” Ready to find out why everyone keeps sneaking back for seconds? Try them and you’ll see.
Why You’ll Love This
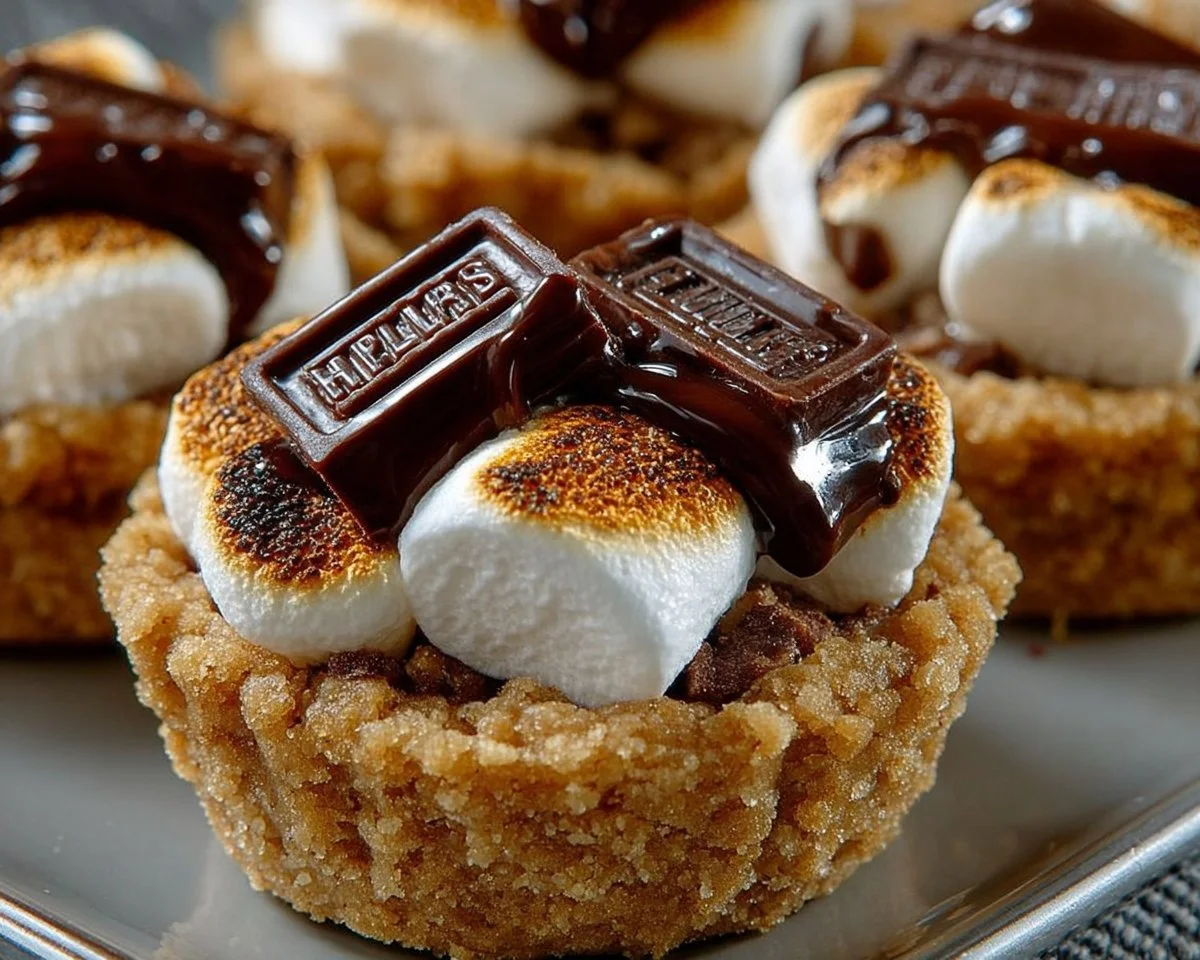
- Toasty, gooey center: Each bite delivers the iconic s’more contrast — crisp edges, tender crumb, and a molten marshmallow center topped with melted chocolate.
- Economical and easy: These use pantry staples (flour, sugar, butter, graham crumbs, marshmallows, and chocolate) and make many cups from a small batch, so they’re budget-friendly and great for sharing.
- Crowd-pleasing toppings: Simple chocolate squares and toasted marshmallows are all you need to impress both kids and adults.
Compared with other desserts like a full-size layered cake, Mini S’mores Cups are faster to make, require less cleanup, and are perfect for portion control. If you love playful desserts with nostalgic flavors, these are a must-try. Make a batch — friends will thank you.
How to Make
Quick Overview
This recipe is straightforward and satisfying: a crumbly graham-cookie-like dough is pressed into mini muffin tins, baked briefly, then filled with marshmallow and finished with a chocolate square toasted under the broiler. Prep and bake time is short, and the final texture is a balance of slightly crisp edges and a soft, gooey middle.
Preparation and cooking time
- Prep time: about 15 minutes
- Bake time: 8 minutes (plus broiler to toast marshmallows)
- Total time: approximately 30–40 minutes
Ingredients
- 1 cup graham cracker crumbs (finely ground)
- 1 1/4 cups all-purpose flour (measured, spooned into cup)
- 1/2 teaspoon baking soda
- 1/4 teaspoon salt (use 1/2 teaspoon if using unsalted butter)
- 1/2 cup butter, softened (room temperature)
- 1/2 cup brown sugar (packed)
- 1/3 cup granulated sugar
- 1 large egg (room temperature)
- 1 teaspoon vanilla extract
- 12 large marshmallows, cut in half (sticky side down when placed)
- 2 Hershey’s (1.55 oz each) chocolate bars, broken into 12 squares (one square per cup)
Directions
- Preheat the oven to 350 degrees F. Spray a mini muffin pan with cooking spray and set it on a baking sheet for stability.
- In a small mixing bowl, combine 1 cup graham cracker crumbs, 1 1/4 cups flour, 1/2 teaspoon baking soda, and 1/4 teaspoon salt. Whisk until evenly mixed. Set aside.
- In a larger bowl, use a handheld electric mixer to blend 1/2 cup softened butter, 1/2 cup brown sugar, and 1/3 cup sugar until the mixture is creamy and well combined, about 2 minutes.
- Add 1 large egg and 1 teaspoon vanilla extract to the butter mixture and mix until smooth and incorporated.
- Dump the dry ingredients into the wet bowl and mix on low speed just until combined. The dough will be crumbly but should hold together when pressed.
- Scoop dough into the mini muffin tins, filling each cup full. Press down slightly so the dough is even and forms a little cup.
- Bake for 8 minutes; they may look slightly underbaked but will set as they cool.
- Immediately after baking, press a teaspoon into the center of each warm cup to create an indent for the marshmallow. Place half a marshmallow into each indent, sticky side down.
- Let the cups cool for about 20 minutes so the dough firms a bit and the marshmallows stick.
- Place one square of Hershey’s chocolate on top of each marshmallow.
- Turn the oven broiler to high. Carefully place the muffin tin under the broiler for 1–2 minutes, watching constantly to toast the marshmallows and melt the chocolate. Remove when marshmallows are golden and chocolate is soft.
- Let cool for about 10 minutes. Serve warm for the gooey experience or cool completely to enjoy slightly firmer cups.
What to Serve With
- Fresh berries or a simple fruit salad to balance the richness
- Cold milk, hot cocoa, or espresso for a cozy pairing
- Vanilla ice cream or salted caramel sauce drizzled over a warm cup
- A platter of assorted cookies and mini treats for a dessert board
Top Tips for Perfecting
- Use room-temperature butter and egg for a smoother creaming process.
- If you don’t have graham cracker crumbs, pulse graham crackers in a food processor or crush them in a zip-top bag with a rolling pin.
- Press dough into the cups firmly so they hold their shape after baking.
- Don’t overbake; 8 minutes is enough — they’ll continue to set while cooling.
- Watch the broiler closely; marshmallows toast quickly and can burn within seconds.
- For a fancier finish, sprinkle sea salt or chopped nuts over the melted chocolate.
Storing and Reheating Tips
- Refrigeration: Store leftover Mini S’mores Cups in an airtight container in the refrigerator for up to 3 days. Chocolate may bloom slightly but will still taste great.
- Freezing: Freeze un-toasted cups (before adding marshmallows and chocolate) in a single layer on a baking sheet, then transfer to a freezer bag for up to 1 month. Bake from frozen, add marshmallow and chocolate, and broil as directed.
- Reheating: Warm individual cups in the oven at 325 degrees F for 5–7 minutes to revive the gooey center, or microwave a single cup for 10–15 seconds for a quick warm treat.
FAQs
Can I make these without a mini muffin pan?
Yes. Use a regular muffin pan for larger portions and increase the bake time to 10–12 minutes. Keep an eye during broiling since larger sizes may toast differently.
Can I substitute different chocolate?
Absolutely. Use chocolate chips, chopped chocolate bars, or even peanut butter cups for variation. Dark chocolate gives a richer contrast to the sweet marshmallow.
How do I prevent the marshmallow from sticking when I place it in the dough?
Press a small indent with a teaspoon immediately after baking — the leftover heat gently adheres the marshmallow. Cooling 20 minutes helps them settle without sliding.
Can I make these ahead of time for a party?
Make the cookie cups ahead and store them at room temperature in an airtight container for a day. Add marshmallow and chocolate just before serving and broil to toast.
Are there vegan or gluten-free adaptations?
Yes. Use vegan butter, egg replacer, vegan marshmallows, and gluten-free flour and crumbs to adapt this recipe for dietary needs.
Conclusion
Mini S’mores Cups are a small-batch dessert that packs nostalgic, gooey flavor with minimal effort — ideal for families, parties, or a cozy night in. They’re simple to make, budget-friendly, and endlessly adaptable, offering the classic s’more experience without a campfire. If you’re curious about similar recipes and want another fun cookie cup idea, explore this take on S’mores Cookie Cups from Kitchen Fun With my 3 Sons to inspire your next bake. Give these a try, share them with friends, and enjoy every sticky, delicious bite.
Mini S'mores Cups
Equipment
- Mini Muffin Pan
- Mixing Bowl
- Handheld Electric Mixer
Ingredients
Ingredients
- 1 cup Graham cracker crumbs Finely ground
- 1.25 cups All-purpose flour Measured, spooned into cup
- 0.5 teaspoon Baking soda
- 0.25 teaspoon Salt Use 1/2 teaspoon if using unsalted butter
- 0.5 cup Butter Softened, at room temperature
- 0.5 cup Brown sugar Packed
- 0.33 cup Granulated sugar
- 1 large Egg Room temperature
- 1 teaspoon Vanilla extract
- 12 large Marshmallows Cut in half, sticky side down when placed
- 2 bars Hershey’s chocolate 1.55 oz each, broken into 12 squares
Instructions
- Preheat the oven to 350 degrees F. Spray a mini muffin pan with cooking spray and set it on a baking sheet for stability.
- In a small mixing bowl, combine graham cracker crumbs, flour, baking soda, and salt. Whisk until evenly mixed. Set aside.
- In a larger bowl, use a handheld electric mixer to blend softened butter, brown sugar, and granulated sugar until creamy and well combined, about 2 minutes.
- Add egg and vanilla extract to the butter mixture and mix until smooth and incorporated.
- Dump the dry ingredients into the wet bowl and mix on low speed just until combined. The dough will be crumbly but should hold together when pressed.
- Scoop dough into the mini muffin tins, filling each cup full. Press down slightly so the dough is even and forms a little cup.
- Bake for 8 minutes; they may look slightly underbaked but will set as they cool.
- Immediately after baking, press a teaspoon into the center of each warm cup to create an indent for the marshmallow. Place half a marshmallow into each indent, sticky side down.
- Let the cups cool for about 20 minutes so the dough firms a bit and the marshmallows stick.
- Place one square of Hershey’s chocolate on top of each marshmallow.
- Turn the oven broiler to high. Carefully place the muffin tin under the broiler for 1–2 minutes, watching constantly to toast the marshmallows and melt the chocolate. Remove when marshmallows are golden and chocolate is soft.
- Let cool for about 10 minutes. Serve warm for the gooey experience or cool completely to enjoy slightly firmer cups.