If there’s one dessert that never goes out of style, it’s a batch of warm, gooey brownies—especially when they’re made from a beloved family recipe. Grandma’s Brownies are everything you want in a treat: rich, chocolaty, and impossibly moist with that crave-worthy crackly top. Whether you grew up stealing spoonfuls of batter from her mixing bowl or are just discovering this classic now, these brownies are pure nostalgia in every bite. Did you know that the earliest brownies date back over a century? Generations have put their own spin on this dessert, but nothing beats the taste of tradition.
Why are Grandma’s Brownies so special? Besides being quick and easy to whip up (ready in under an hour!), they’re perfect for bake sales, family gatherings, or sweet snacking. If you loved my Ultimate Chocolate Chip Cookies, you’ll find the same crowd-pleasing magic here—only richer and fudge-ier. Every bite is a delicious reminder of how the simplest recipes can bring the biggest smiles. So dust off that apron and get ready to fill your kitchen with the sweet scent of chocolatey love!
What is Grandma’s Brownies?
Have you ever wondered why so many recipes are lovingly named after someone’s grandma? “Grandma’s Brownies” just sound more irresistible, don’t they? Maybe it’s because grandmas always seem to add that extra pinch of love (or, let’s be honest, butter!) into everything they bake. Every family has their own story—maybe these brownies lured grandpa in, or maybe they were the prize for finishing your veggies. As the old saying goes, “The way to a man’s heart is through his stomach”—and really, whose heart doesn’t melt for fudgy brownies? Now, it’s your turn to share the tradition—bake a batch and spread a little joy in your own home!
Why You’ll Love This
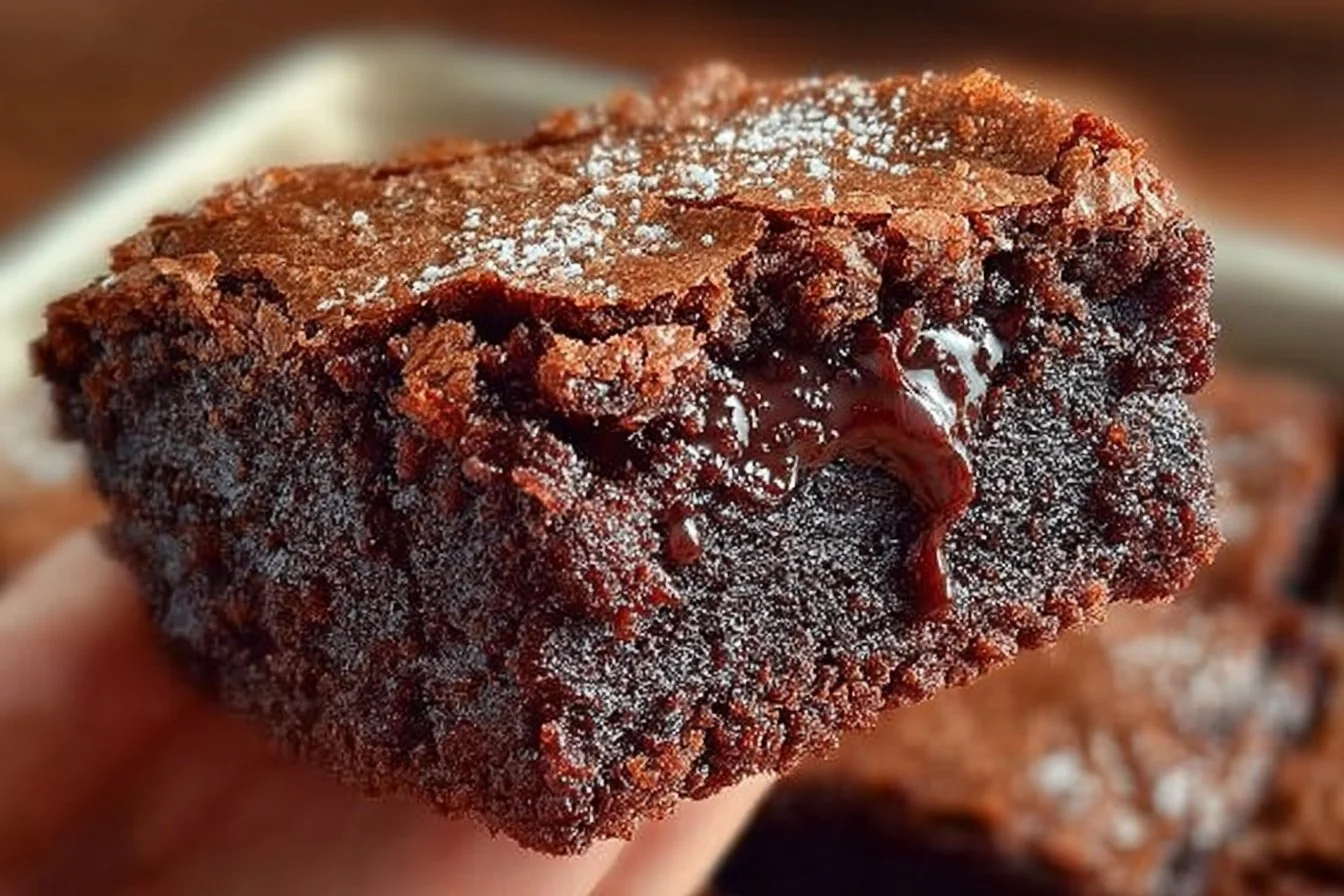
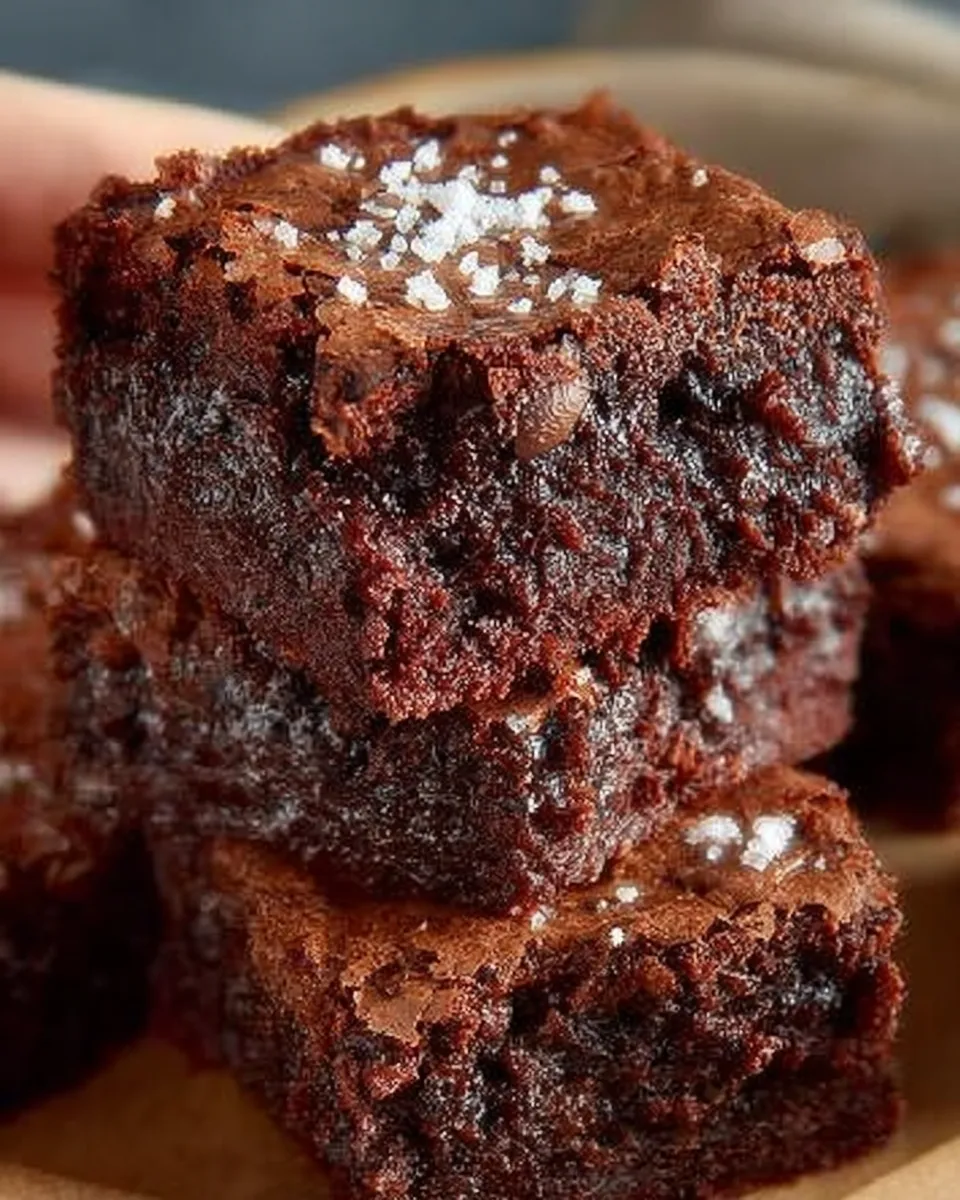
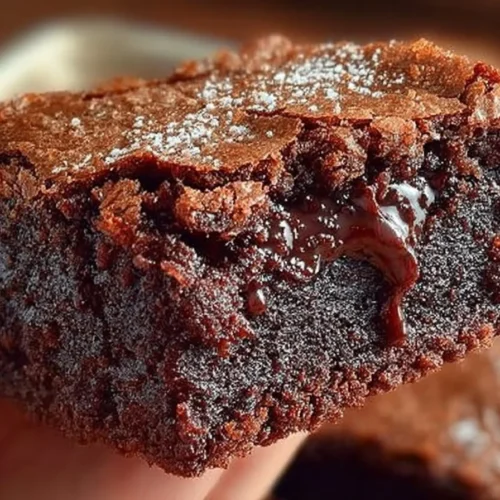
These brownies are more than just your average chocolate treat—they’re rich, fudgy, and have that perfect balance of crackly top and gooey center. The best part? You get to enjoy homemade brownies at a fraction of the cost of fancy bakery versions, with simple pantry staples you probably already have on hand. Creamy butter, deep cocoa, and a hint of vanilla come together for irresistible depth of flavor, while the generous amount of sugar and eggs ensures melt-in-your-mouth texture. Sprinkle on some chopped nuts, add chocolate chips, or swirl in caramel for extra flair—Grandma would approve! If you loved my Classic Fudge recipe, make sure to try these brownies next. Trust me—you’ll never go back to boxed mixes. Ready to dig in?
How to Make Grandma’s Brownies
Quick Overview
One of the best things about Grandma’s Brownies is just how effortlessly they come together. With minimal prep—about 15 minutes—and less than 40 minutes in the oven, you can have a batch ready for dessert, lunchboxes, or surprise visitors. The rich flavor comes from real cocoa and plenty of butter, so each bite is decadently satisfying. Whether you’re a newbie or a dessert pro, this easy, one-bowl recipe guarantees delicious results every time.
Ingredients
- 3/4 cup cocoa powder
- 2 cups granulated sugar
- 1 cup milk (2% or whole)
- 3 sticks (24 tablespoons) unsalted butter, room temperature
- 2 cups all-purpose flour
- 2 large eggs, room temperature
- 1 teaspoon pure vanilla extract
- 1/2 teaspoon salt
Step-by-Step
- Preheat your oven to 350°F (175°C). Grease a 9×13-inch baking pan or line it with parchment paper for easy removal.
- In a large mixing bowl, cream the room-temperature butter and sugar together until light and fluffy using a hand mixer or sturdy spoon.
- Beat in the eggs, one at a time, mixing well after each addition. Stir in the vanilla extract.
- In a separate bowl, whisk together the flour, cocoa powder, and salt.
- Add the dry ingredients to the wet mixture in two or three increments, alternating with the milk, and mixing until just combined. Don’t overmix—the batter should look thick and glossy.
- Pour the batter into your prepared pan and spread it into an even layer, making sure to get it into the corners.
- Bake in the preheated oven for 35-40 minutes, or until a toothpick inserted into the center comes out with just a few moist crumbs.
- Allow to cool completely in the pan before cutting into squares. For the cleanest slices, let them cool for at least 30 minutes.
What to Serve Grandma’s Brownies With
Grandma’s Brownies are delicious on their own, but for a decadent dessert, try serving them with a scoop of vanilla or coffee ice cream, a dollop of whipped cream, or a drizzle of salted caramel. For a fun family treat, pair them with a tall glass of cold milk or a creamy hot chocolate. If you’re planning a dessert table, brownies go wonderfully alongside fresh berries, fruit salad, or even a tangy lemon bar for contrast. Need a special touch for birthdays? Top each brownie with a swirl of chocolate frosting and colorful sprinkles.
Top Tips for Perfecting Grandma’s Brownies
For super-fudgy brownies, don’t overbake—pull them from the oven as soon as a toothpick comes out mostly clean. If you only have salted butter, simply reduce the added salt by half. Swapping out regular flour for gluten-free blends works well for allergy-friendly treats, just make sure it’s a 1:1 replacement. Want to jazz things up? Stir in a handful of chocolate chips, chopped walnuts, or even swirl in peanut butter before baking. The number one mistake to avoid? Overmixing the batter, which can make brownies tough. Mix until just combined for the softest, chewiest texture.
Storing and Reheating Tips
Store leftover brownies in an airtight container at room temperature for up to 4 days—they rarely last that long! For longer storage, wrap individual squares tightly in plastic wrap and keep them in the fridge for up to 1 week. To freeze, place the wrapped brownies in a zip-top bag; they’ll stay fresh for 2 months. To reheat, microwave a piece for 10-15 seconds for a “just-baked” gooey treat. If defrosting from frozen, simply let them come to room temperature or warm briefly in the oven for the best texture.
FAQs
How can I make my brownies extra fudgy?
- Use a little less flour, take care not to overbake, and try melting half the butter with the cocoa powder for even richer results.
Can I add mix-ins to this recipe?
- Absolutely! Add chopped nuts, chocolate chunks, mini marshmallows, or even dried cherries before baking for extra flavor and texture.
What’s the best cocoa powder for brownies?
- Use unsweetened natural cocoa powder for the deepest chocolate flavor, but Dutch-process works too for a milder, smooth result.
How do I know if my brownies are done?
- The toothpick test is your friend! Insert it into the center—if it comes out with moist crumbs but not wet batter, they’re done.
Can this recipe be halved or doubled?
- Yes! Use an 8×8-inch pan for half-batches or double the recipe for a party—just adjust bake times accordingly and keep an eye on doneness.
Conclusion
Grandma’s Brownies are the kind of timeless treat that fills your home with laughter, chocolatey aromas, and happy memories. Whether you’re treating your family, sharing with friends, or sneaking a midnight bite for yourself, these brownies never disappoint. Their simple ingredients, easy steps, and unbeatable flavor make them a go-to for every occasion. So grab your favorite mixing bowl, create your own sweet memories, and make this beloved recipe a new tradition in your kitchen. Happy baking!
Grandma's Brownies
Equipment
- Mixing Bowl
- Baking Pan
- Whisk
- Hand Mixer
Ingredients
Ingredients
- 3/4 cup cocoa powder Unsweetened cocoa powder for rich flavor.
- 2 cups granulated sugar
- 1 cup milk 2% or whole milk recommended.
- 3 sticks unsalted butter Room temperature, equivalent to 24 tablespoons.
- 2 cups all-purpose flour
- 2 large eggs Room temperature.
- 1 teaspoon pure vanilla extract
- 1/2 teaspoon salt
Instructions
- Preheat your oven to 350°F (175°C). Grease a 9×13-inch baking pan or line it with parchment paper for easy removal.
- In a large mixing bowl, cream the room-temperature butter and sugar together until light and fluffy using a hand mixer or sturdy spoon.
- Beat in the eggs, one at a time, mixing well after each addition. Stir in the vanilla extract.
- In a separate bowl, whisk together the flour, cocoa powder, and salt.
- Add the dry ingredients to the wet mixture in two or three increments, alternating with the milk, and mixing until just combined. Don’t overmix—the batter should look thick and glossy.
- Pour the batter into your prepared pan and spread it into an even layer, making sure to get it into the corners.
- Bake in the preheated oven for 35-40 minutes, or until a toothpick inserted into the center comes out with just a few moist crumbs.
- Allow to cool completely in the pan before cutting into squares. For the cleanest slices, let them cool for at least 30 minutes.
1 comment
I followed the instructions exactly but my brownies were way more cake-like in texture, not fudgy or gooey at all. They taste good, but definitely more like a rich chocolate cake than a brownie.