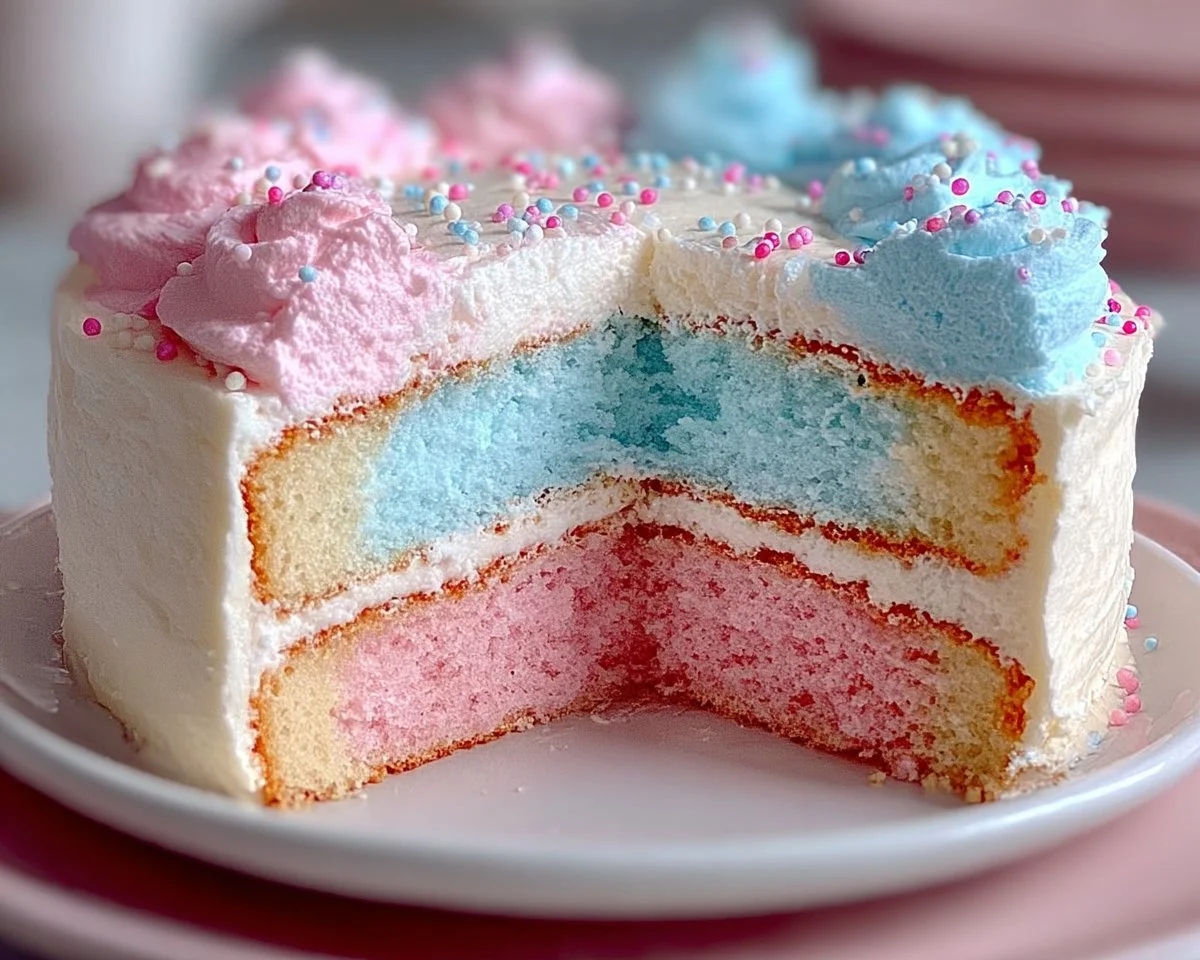
Creamy, colorful, and delightfully whimsical, this Cotton Candy Cake is everything you want for a celebration or a sweet weeknight treat. It’s light yet satisfying, with a tender crumb that practically melts in your mouth and a playful swirl of pink and blue that makes every slice feel like a party. Fun fact: cotton candy was originally called candy floss, and kids (and adults) still gasp at anything that looks as joyful as a spun-sugar cloud.
This recipe is special because it’s simple, quick to prepare, and irresistibly family-friendly — perfect for baking with kids or surprising guests at a casual get-together. If you like airy, tender cakes, you might also enjoy our take on fluffy Japanese cotton cheesecake cupcakes, which share that same delicate texture but in a cheesecake form. Ready to bake something fun and impressive? Let’s get started — your inner child will thank you.
What is Cotton Candy Cake?
Why is it called Cotton Candy Cake — is it made from actual cotton candy? Not exactly, but it tastes like nostalgia served on a plate. Think of a classic vanilla cake dressed up with soft pastel swirls, a hint of cotton candy extract, and decorations that evoke the carnival. Who wouldn’t be curious? Do you remember chasing a paper cone of spun sugar at the fair? That playful memory is what this cake aims for. After all, they say “the way to a man’s heart is through his stomach.” Why not try this one and see who it wins over? Give it a go and see the smiles it brings.
Why You’ll Love This:
- Light, dreamy texture: This cake is tender, moist, and melts on the tongue — the main highlight that keeps everyone coming back for another slice.
- Budget-friendly baking: No specialty equipment or pricey ingredients are needed. Making this at home saves money compared to bakery versions and gives you full control over sweetness and color.
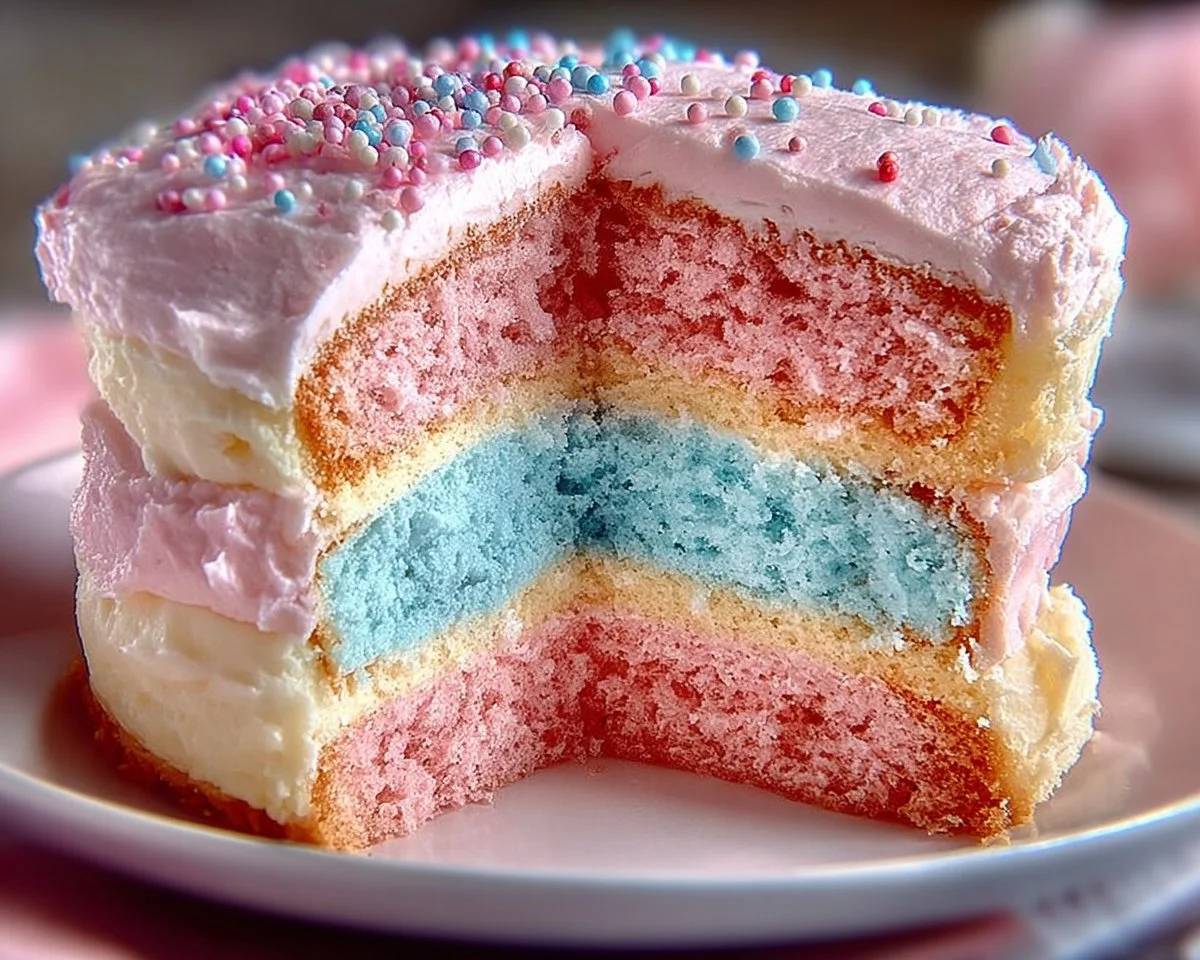
- Fun flavor and toppings: With optional cotton candy extract, soft pastel colors, and playful sprinkles or real cotton candy topping, this cake is as delightful to look at as it is to eat.
If you enjoy whimsical desserts, this recipe pairs well with other playful treats on the blog like our classic cotton candy-inspired posts — try the linked recipe for more ideas: Cotton Candy Cake inspiration. Go on — make something that tastes like a memory.
How to Make:
Quick Overview
This cake comes together quickly and uses basic mixing techniques anyone can master. The texture is soft and moist with a light crumb. The standout element is the colorful marbled batter and the optional cotton candy-flavored frosting that delivers nostalgia in every bite. Preparation time is about 15–20 minutes, baking takes 25–30 minutes, and cooling plus frosting add another 20–30 minutes. Total time: roughly 1 hour to 1 hour 20 minutes.
Ingredients
- 2 1/2 cups all-purpose flour
- 2 1/2 teaspoons baking powder
- 1/2 teaspoon salt
- 1 cup unsalted butter, softened (room temperature)
- 2 cups granulated sugar
- 4 large egg whites (at room temperature)
- 1 tablespoon vanilla extract
- 1 cup whole milk (room temperature)
- Pink food coloring (gel or liquid)
- Blue food coloring (gel or liquid)
- 1/2 teaspoon cotton candy extract (optional)
Directions
- Preheat the oven to 350°F (175°C). Grease and flour two 8- or 9-inch round cake pans, tapping out any excess flour.
- In a medium bowl, whisk together the 2 1/2 cups all-purpose flour, 2 1/2 teaspoons baking powder, and 1/2 teaspoon salt until evenly combined.
- In a larger mixing bowl or the bowl of a stand mixer, beat 1 cup softened unsalted butter and 2 cups granulated sugar on medium speed until light and fluffy, about 3–5 minutes. Scrape down the sides as needed.
- Add the 4 large egg whites one at a time, mixing well after each addition. Mix in 1 tablespoon vanilla extract until smooth.
- With the mixer on low, alternately add the dry ingredients and 1 cup whole milk to the butter mixture, starting and ending with the flour mixture. Mix just until combined — avoid overmixing to keep the cake tender.
- Divide the batter evenly into two bowls. Add pink food coloring to one bowl and blue food coloring to the other, mixing until the colors are evenly incorporated. If using, add 1/2 teaspoon cotton candy extract to one or both bowls to enhance the flavor.
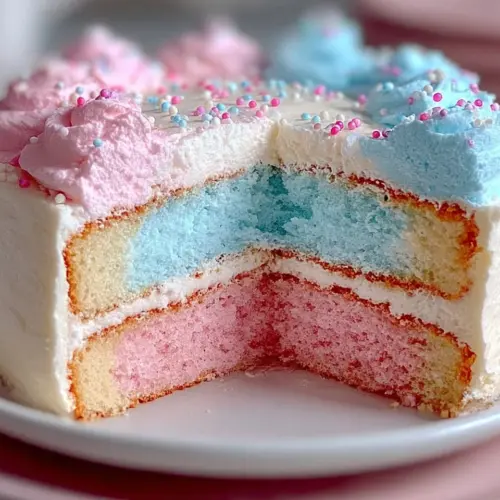
- For a marbled effect, pour the pink and blue batters into the prepared pans in alternating spoonfuls or layers. Use a skewer or butter knife to gently swirl the batters a few times — don’t over-swirl or the colors will blend too much.
- Bake for 25–30 minutes, or until a toothpick inserted into the center of each cake comes out clean or with a few dry crumbs. Rotate pans halfway through baking for even browning.
- Remove cakes from the oven and let them cool in the pans for 10 minutes, then turn them out onto a wire rack and let them cool completely before frosting.
- Once cooled, frost with cotton candy-flavored frosting and decorate with small pieces of cotton candy, pastel sprinkles, or edible glitter for a festive finish.
What to Serve With:
- A light, fruity accompaniment: fresh berries or a mixed berry compote to cut the sweetness.
- Vanilla or strawberry ice cream for an extra-indulgent dessert plate.
- A simple green salad with a citrus vinaigrette if serving as part of a party dessert spread to balance flavors.
- Drinks: sparkling lemonade, sweet iced tea, or a creamy latte to pair with the pastel confection.
Top Tips for Perfecting:
- Ingredient substitutions: Use unsalted butter for consistent results; if using salted butter, reduce added salt slightly.
- Timing: Bring butter, egg whites, and milk to room temperature before mixing for a smooth batter and even rise.
- Flavor enhancements: Add 1/2 teaspoon almond extract along with vanilla for a rounder flavor, or use the optional cotton candy extract sparingly.
- Color tips: Gel food coloring provides more vibrant shades without watering down the batter.
- Common mistakes: Don’t overmix once you add flour — overmixing develops gluten and makes the cake dense. Also, let the cakes cool completely before frosting to avoid melted frosting.
Storing and Reheating Tips:
- Refrigeration: Store the frosted cake in an airtight cake carrier or covered with plastic wrap in the refrigerator for up to 4 days.
- Freezing: You can freeze unfrosted cake layers wrapped tightly in plastic wrap and aluminum foil for up to 2 months. Thaw overnight in the refrigerator before frosting.
- Shelf life: Unfrosted baked layers can stay at room temperature, wrapped, for 1–2 days; once frosted, refrigeration is best.
- Reheating: Serve chilled or at room temperature. If you prefer warm slices, warm single servings in the microwave for 8–12 seconds; avoid reheating the entire cake to prevent drying.
FAQs
Can I use whole eggs instead of egg whites?
Yes, you can use whole eggs, but the texture will be slightly richer and less airy. If substituting, use 2 whole large eggs for every 3 egg whites as a rough guide.
Is cotton candy extract necessary?
No. The extract boosts the nostalgic flavor, but the cake is delicious with vanilla alone. Use the extract sparingly — too much can taste artificial.
How can I make this cake dairy-free?
Replace whole milk with a nondairy milk like almond or oat milk, and use a dairy-free butter substitute. The texture may change slightly but will still be enjoyable.
Can I turn this into cupcakes?
Absolutely. Fill cupcake liners two-thirds full and bake for 16–20 minutes, or until a toothpick comes out clean.
What’s the best frosting for this cake?
A light buttercream with a touch of cotton candy extract works beautifully. Cream cheese frosting is another nice option for a tangy contrast.
Conclusion
This Cotton Candy Cake is a joyful, easy-to-make dessert that brings color, nostalgia, and irresistible flavor to any table. It’s simple enough for beginners, quick enough for busy bakers, and playful enough to delight kids and adults alike. If you want design inspiration or a different take on this theme, check out this lovely version for ideas and variations from an established dessert blog: Cotton Candy Cake – Liv for Cake. Bake it, share it, and enjoy the smiles it creates.
Cotton Candy Cake
Equipment
- Mixing Bowl
- Stand Mixer
- Cake Pans
- Wire Rack
Ingredients
Dry Ingredients
- 2.5 cups All-purpose flour
- 2.5 teaspoons Baking powder
- 0.5 teaspoon Salt
Wet Ingredients
- 1 cup Unsalted butter, softened (room temperature)
- 2 cups Granulated sugar
- 4 large Egg whites (at room temperature)
- 1 tablespoon Vanilla extract
- 1 cup Whole milk (room temperature)
Coloring and Flavoring
- Pink food coloring (gel or liquid)
- Blue food coloring (gel or liquid)
- 0.5 teaspoon Cotton candy extract (optional)
Instructions
- Preheat the oven to 350°F (175°C). Grease and flour two 8- or 9-inch round cake pans, tapping out any excess flour.
- In a medium bowl, whisk together the flour, baking powder, and salt until evenly combined.
- In a larger mixing bowl, beat the softened butter and granulated sugar on medium speed until light and fluffy, about 3–5 minutes.
- Add the egg whites one at a time, mixing well after each addition. Mix in the vanilla extract until smooth.
- With the mixer on low, alternately add the dry ingredients and milk to the butter mixture, starting and ending with the flour mixture. Mix just until combined.
- Divide the batter evenly into two bowls. Add pink food coloring to one bowl and blue food coloring to the other, mixing until evenly incorporated.
- Pour the pink and blue batters into the prepared pans in alternating spoonfuls or layers. Use a skewer to gently swirl the batters.
- Bake for 25–30 minutes, or until a toothpick inserted into the center comes out clean.
- Remove cakes from the oven and let them cool in the pans for 10 minutes, then turn them out onto a wire rack to cool completely before frosting.
- Once cooled, frost with cotton candy-flavored frosting and decorate with cotton candy, sprinkles, or edible glitter.