The moment you hear the words “Butterfinger Lush,” one thing comes to mind—decadent, creamy, peanut buttery delight! This dreamy dessert layers crunchy cookies, velvety cream cheese, peanut butter, and Butterfinger candy into one glorious pan. If you love no-bake desserts that are decadent yet effortless, you’re in for a treat. In fact, I remember whipping this up for a family BBQ, only to see it disappear faster than you can say “seconds, please!”
What makes it even more special? It requires just a handful of common ingredients, a quick prep time (just 30 minutes, plus chilling!), and zero baking. You’ll have an irresistible crowd-pleaser that’s as easy to serve as it is to make. Compared to my classic Chocolate Eclair Cake, Butterfinger Lush is even more indulgent with its signature candy crunch. Ready to indulge your sweet tooth with this family favorite dessert? Dive in, because you won’t want to miss a single bite of Butterfinger Lush!
What is Butterfinger Lush?
Let’s be honest—“Butterfinger Lush” sounds a little mysterious and whole lot irresistible, doesn’t it? Is it lush because it’s creamy beyond belief, or because it’s so dreamy you can’t have just one slice? Maybe it’s both! This isn’t just any dessert—it’s an over-the-top, candy-packed treat that turns ordinary days into celebrations. And they say “the way to a man’s heart is through his stomach”—but with this lush, you’ll win over anyone’s heart instantly. So, why not give your next dessert a delicious twist? Grab those Butterfingers and prepare for sweet magic—your taste buds will thank you!
Why You’ll Love This
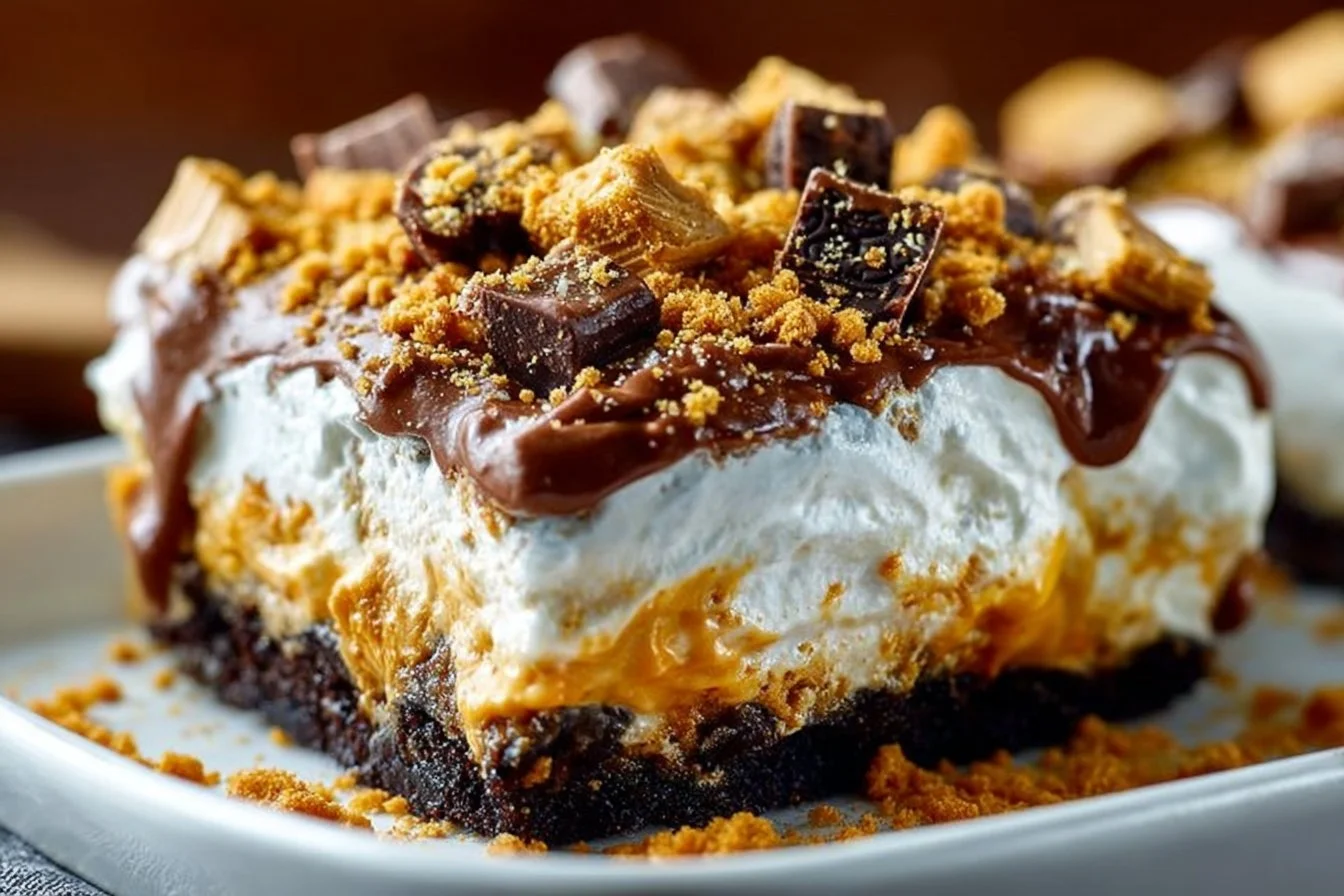
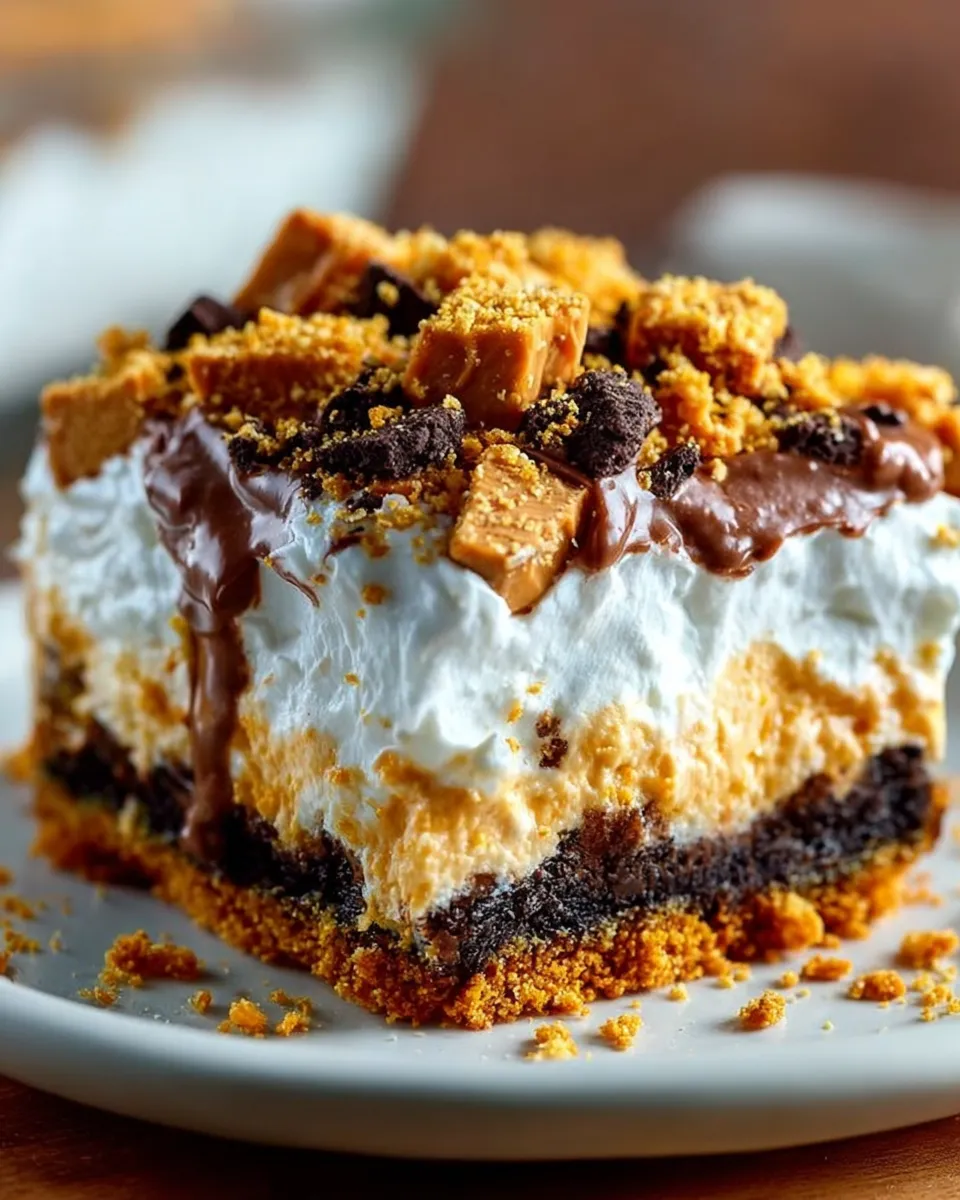
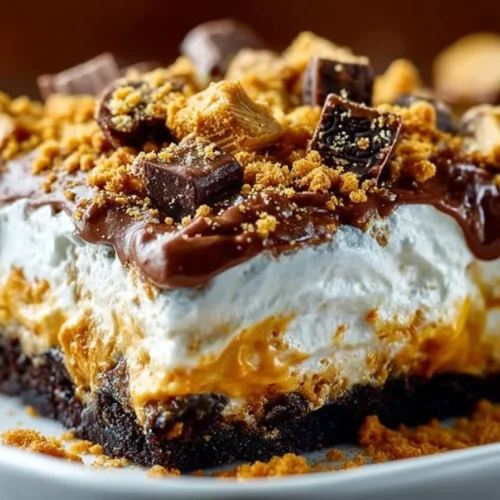
Butterfinger Lush is everything you want in a dessert—rich, creamy layers, a hint of crunch, and the familiar flavors of peanut butter and chocolate. The real star is the combination of Butterfinger candy and smooth peanut butter, creating a nostalgia-inducing treat that’s perfect for kids and adults alike. Even better, making this at home is so much more affordable than buying a fancy candy bar cake from the store, with all the flavor and none of the hassle. The Oreo crust holds everything together, while a double layer of whipped topping and crushed Butterfingers makes every bite unforgettable. If you loved my Peanut Butter Pie recipe, this one takes those beloved flavors and kicks them up a notch. Trust me—your dessert game is about to level up. Try it today and see for yourself why Butterfinger Lush is my go-to celebration treat!
How to Make
Quick Overview
If you’ve been searching for an easy dessert that delivers big on both flavor and texture, Butterfinger Lush fits the bill. This recipe takes less than 30 minutes to prepare (plus some chill time in the fridge) and only uses a handful of ingredients you probably have on hand. You’ll love the balance between the creamy peanut butter filling and the crispy Butterfinger topping. Every layer promises a melt-in-your-mouth experience that’s impossible to resist!
Ingredients
- 32 Oreo cookies
- 5 tablespoons butter, melted
- 1 (8-ounce) package cream cheese, softened
- 1 cup confectioners’ sugar
- 3/4 cup creamy peanut butter
- 1 bag mini Butterfingers (or about 10 regular-size bars, crushed)
- 1 (16-ounce) container Cool Whip, divided
- 1 (5.9-ounce) box instant chocolate pudding mix
- 2 cups milk
Step-by-Step
- Crush the Oreos in a food processor (or place in a zip-top bag and smash with a rolling pin) until fine.
- Combine the crushed Oreos with the melted butter. Mix until all crumbs are coated.
- Press the mixture evenly into the bottom of a 9×13-inch baking dish to form a crust. Set aside.
- In a large mixing bowl, beat the softened cream cheese until smooth. Add the confectioners’ sugar and creamy peanut butter, then mix until well combined.
- Fold in half of the Cool Whip to lighten the mixture.
- Spread the cream cheese mixture evenly over the Oreo crust.
- Sprinkle about half of the crushed Butterfingers over the creamy layer.
- In a separate bowl, whisk together the instant chocolate pudding mix and milk until thickened—about 2 minutes.
- Gently spread the pudding over the Butterfinger layer.
- Top with the remaining Cool Whip, spreading it smooth.
- Finish by sprinkling the remaining crushed Butterfingers over the top.
- Cover and refrigerate for at least 4 hours (or overnight) to allow the layers to set.
- Slice, serve, and enjoy!
What to Serve Butterfinger Lush With
Butterfinger Lush is a star on its own, but it pairs beautifully with simple side treats and drinks. Try serving this with a fresh berry salad for a refreshing contrast or offer sliced bananas for extra flavor. For drinks, an ice-cold glass of milk is always a win, but coffee or a vanilla latte transforms Butterfinger Lush into a café-worthy dessert. Looking for something savory first? Pair it with a light chicken Caesar salad for a complete, balanced meal that ends on a sweet note.
Top Tips for Perfecting
- For extra-crunchy crust, chill your Oreo and butter mixture for 10-15 minutes before adding the next layer.
- No Cool Whip? Swap in an equal amount of homemade whipped cream (just whip heavy cream and a little sugar until soft peaks form).
- Peanut allergy? Use sunflower seed butter or cookie butter as a tasty substitute.
- Don’t skip the chilling time. Four hours or overnight helps the layers set and become perfectly sliceable.
- Crush the Butterfingers just before topping. This keeps them crisp and fresh, and gives a great, crunchy finish.
Storing and Reheating Tips
Butterfinger Lush keeps well when stored properly. After assembling, cover tightly with plastic wrap or a fitted lid and store in the refrigerator for up to 4 days. For longer storage, you can freeze the entire dish (wrap in plastic and foil) for up to 1 month. To enjoy from frozen, thaw overnight in the fridge—no need to reheat, just slice and serve cold. Avoid microwaving, as it will melt the creamy layers and affect the texture.
FAQs
Can I use a different candy bar instead of Butterfingers?
Absolutely! Try crushed Heath bars, Snickers, or Reese’s for a new twist.
Can I make Butterfinger Lush ahead of time?
Yes, in fact, it’s best made the day before to allow the layers to set perfectly.
Are there gluten-free options for this recipe?
Just swap regular Oreos for gluten-free sandwich cookies, and double-check that your pudding mix is gluten-free.
What’s the best way to crush Butterfingers?
Unwrap the bars, place them in a zip-top bag, and tap with a rolling pin or heavy skillet until they’re chunky but not powdery.
Can I use homemade whipped cream instead of Cool Whip?
Of course! Just whip 2 cups of cold heavy cream with 2 tablespoons confectioners’ sugar until soft peaks form, and use as directed.
Conclusion
Butterfinger Lush isn’t just a dessert; it’s the ultimate show-stopper that delights family and friends with every creamy, candy-filled bite. Easy to make, fun to eat, and bursting with peanut butter and chocolate, this no-bake treat is perfect for any occasion—from birthday parties to summer BBQs. If you loved my Chocolate Eclair Cake or Peanut Butter Pie, this lush dessert will earn a spot in your favorites. Grab those Butterfingers and start layering—the sweetest memories begin in your kitchen!
Butterfinger Lush
Equipment
- Food Processor
- Mixing Bowl
- 9x13 inch Baking Dish
Ingredients
Oreo Crust
- 32 cookies Oreo cookies
- 5 tablespoons butter, melted
Cream Cheese Layer
- 1 package cream cheese, softened 8 ounces
- 1 cup confectioners' sugar
- 3/4 cup creamy peanut butter
Butterfinger Topping
- 1 bag mini Butterfingers, crushed or about 10 regular-size bars
- 1 container Cool Whip, divided 16 ounces
Pudding Layer
- 1 box instant chocolate pudding mix 5.9 ounces
- 2 cups milk
Instructions
- Crush the Oreos in a food processor until fine.
- Combine the crushed Oreos with the melted butter. Mix until all crumbs are coated.
- Press the mixture evenly into the bottom of a 9x13-inch baking dish to form a crust. Set aside.
- In a large mixing bowl, beat the softened cream cheese until smooth. Add the confectioners’ sugar and creamy peanut butter, then mix until well combined.
- Fold in half of the Cool Whip to lighten the mixture.
- Spread the cream cheese mixture evenly over the Oreo crust.
- Sprinkle about half of the crushed Butterfingers over the creamy layer.
- In a separate bowl, whisk together the instant chocolate pudding mix and milk until thickened—about 2 minutes.
- Gently spread the pudding over the Butterfinger layer.
- Top with the remaining Cool Whip, spreading it smooth.
- Finish by sprinkling the remaining crushed Butterfingers over the top.
- Cover and refrigerate for at least 4 hours (or overnight) to allow the layers to set.
- Slice, serve, and enjoy!