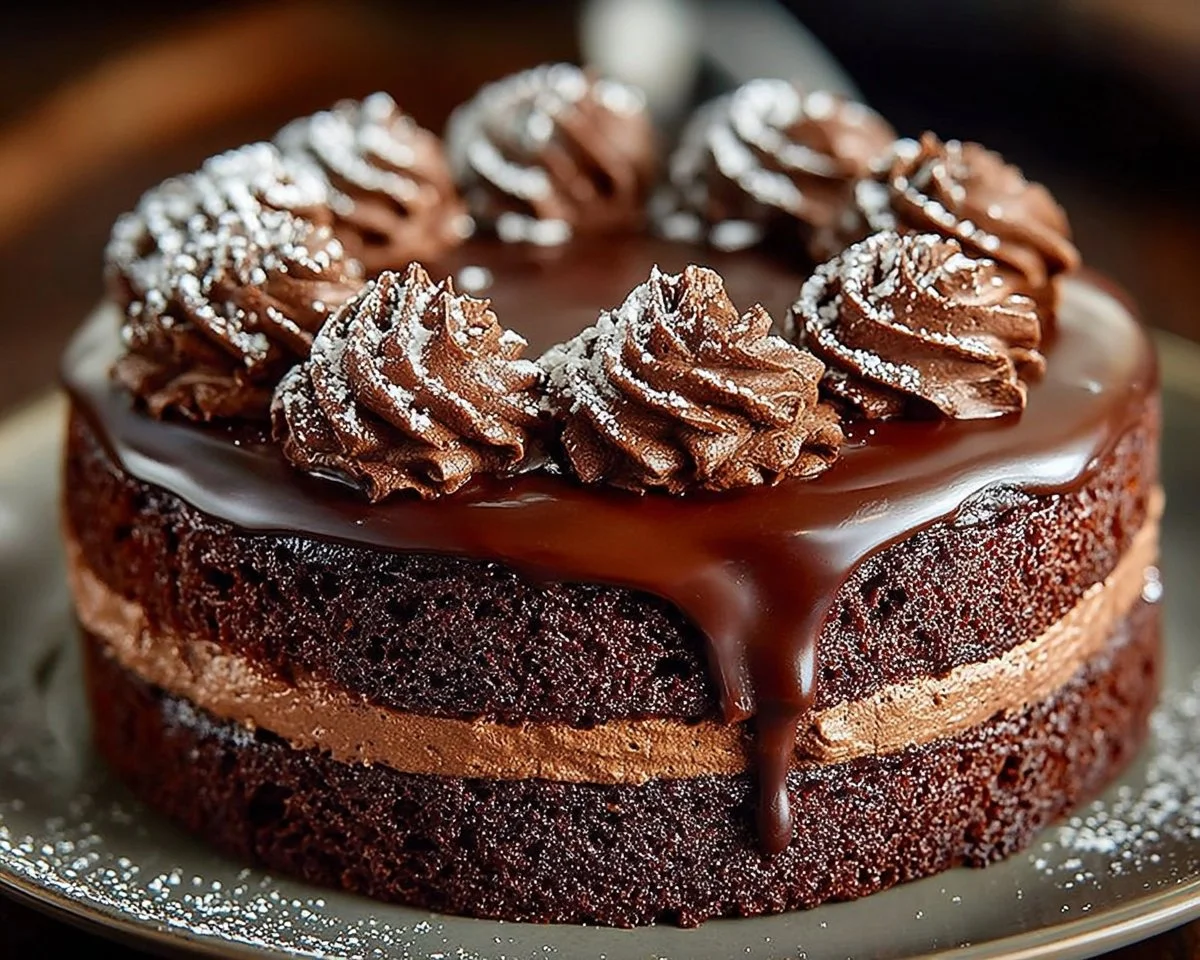
Creamy, decadent, and light all at once — that’s the magic of this Chocolate Cake with Silky Mousse. If you love a dessert that feels fancy but comes together without drama, you’re in the right place. This cake delivers rich cocoa flavor, tender crumb, and a mousse filling so smooth it practically melts on the tongue. Fun fact: many home bakers discover that a mousse layer turns an ordinary cake into an occasion-worthy centerpiece with almost no extra effort.
This recipe is perfect for weeknight celebrations, casual weekends, or when you want to impress friends without spending all day in the kitchen. It’s simple enough for beginners, quick in prep, and family-friendly — kids will love helping whip the mousse. If you enjoyed our other showstopper, the classic chocolate cake with silky mousse, you’ll find this version equally comforting and a little more streamlined. Ready to bake? Let’s get started!
What is Chocolate Cake with Silky Mousse?
What’s in a name? Chocolate Cake with Silky Mousse sounds like a love letter to chocolate, doesn’t it? Imagine two soft, cocoa-packed cake layers hugging a cloud of silky chocolate mousse — it’s indulgent without being overly heavy. Why call it that? Maybe someone once whispered, “the way to a man’s heart is through his stomach,” and handed over a slice. Could the mousse be the secret weapon? Quite possibly. Try it and see if it inspires the same swoons in your kitchen. Go ahead — make one and tell me how long it took to disappear.
Why You’ll Love This:
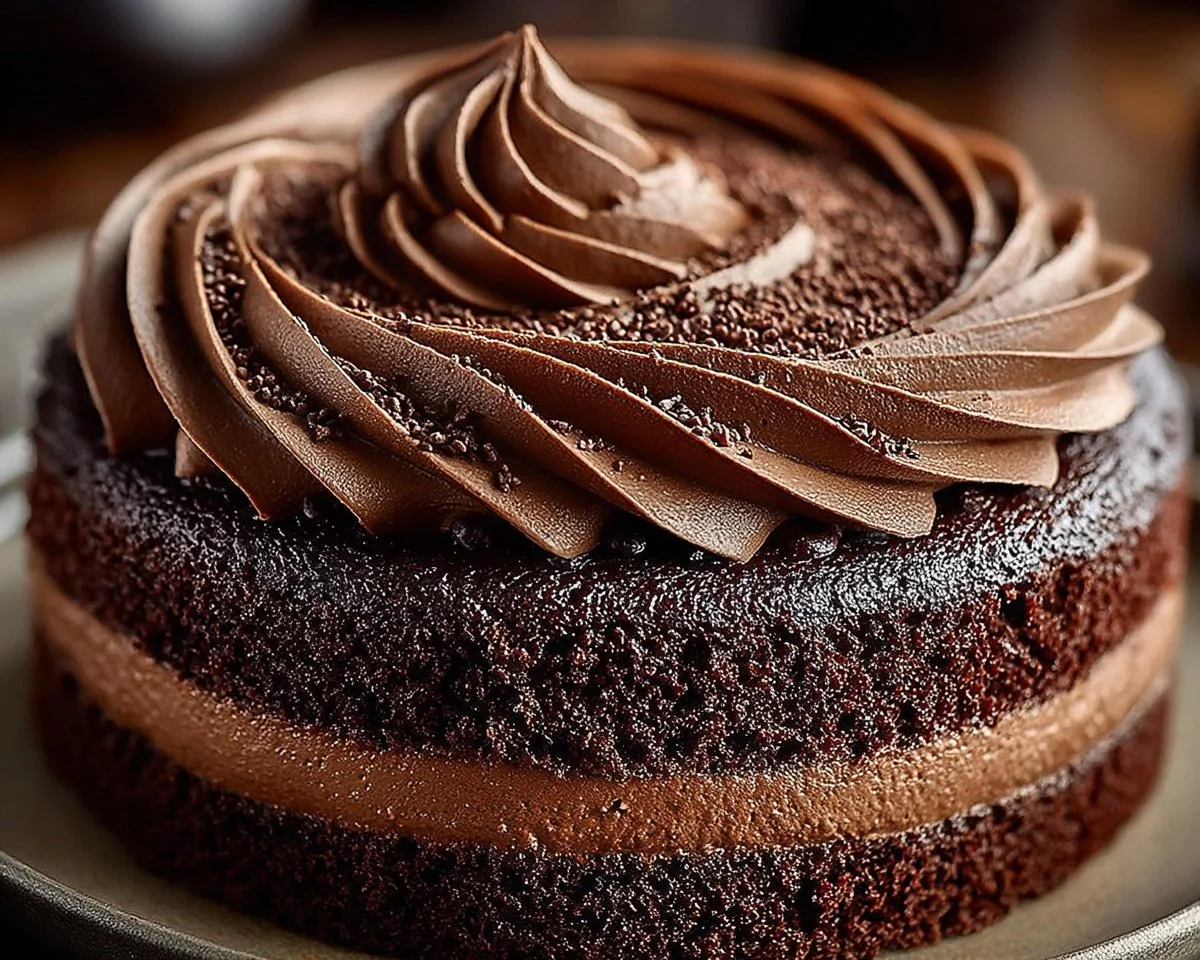
- Silky mousse center: The main highlight is the pillowy chocolate mousse that gives each bite a creamy, velvety contrast to the tender cake layers.
- Cost-effective and homemade: Making this at home cuts down on bakery prices and lets you control ingredients — great for feeding a crowd on a budget.
- Flavor-packed and versatile toppings: Rich cocoa, real melted chocolate, and optional garnishes like berries or shavings make every slice feel gourmet.
Compared to some other desserts on this blog, like the lighter sponge cakes, this recipe leans into deep chocolate flavor and texture contrast. It’s a great follow-up if you loved our lighter treats but are craving something more luxurious. Make it tonight and treat yourself.
How to Make:
Quick Overview
This recipe is straightforward: mix, bake, whip, assemble. The cake batter is simple and forgiving, the mousse comes together in minutes, and the final assembly requires only spreading and a little patience while it chills. Expect about 15 minutes active prep, 30–35 minutes baking, and 30 minutes chilling for the mousse — under two hours total for a showstopper dessert.
Ingredients
1 cup all-purpose flour
1 cup granulated sugar
3/4 cup unsweetened cocoa powder
1/2 cup butter, softened
1/2 cup milk, room temperature
3 large eggs, room temperature
1 tsp baking powder
1/2 tsp salt
1 cup heavy cream, cold
1/2 cup powdered sugar, sifted
1 tsp vanilla extract
4 oz semi-sweet chocolate, melted and slightly cooled
Directions
- Preheat oven to 350°F (175°C). Grease and flour two 9-inch round cake pans. Prepare pans fully so the cakes release easily after baking.
- In a large bowl, cream together the butter and sugar until light and fluffy, about 2–3 minutes with a hand mixer. Add the eggs one at a time, beating well after each addition so the batter stays smooth.
- In a separate bowl, whisk together flour, cocoa powder, baking powder, and salt to ensure even distribution. Gradually mix the dry ingredients into the wet mixture, alternating with milk, beginning and ending with the dry ingredients. Mix until just combined — do not overmix.
- Divide the batter evenly between the prepared pans and smooth the tops. Bake for 30–35 minutes, or until a toothpick inserted in the center comes out clean or with a few moist crumbs. Cool the cakes in the pans for 10 minutes, then transfer them to a wire rack to cool completely.
- In a large bowl, whip the heavy cream with an electric mixer on medium speed until soft peaks form. Gradually add the powdered sugar and vanilla extract, continuing to whip until stiff peaks form and the cream holds shape. Gently fold the melted chocolate into the whipped cream in small additions until smooth and uniform. Chill the mousse in the refrigerator for 30 minutes to firm up slightly for easier spreading.
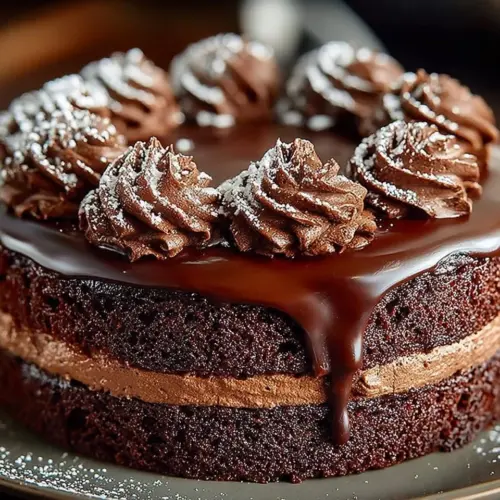
- Place one cooled cake layer on a serving platter or cake stand. Spread a generous layer of mousse over the top of the first layer, smoothing to the edges. Place the second cake layer on top and frost the top and sides with the remaining mousse using an offset spatula for a neat finish.
- Garnish the cake with chocolate shavings, fresh berries, or your favorite toppings for a beautiful finish. Slice and serve.
What to Serve With:
- Fresh berries (strawberries, raspberries, or blueberries) to cut through the richness.
- A simple mixed green salad with a citrus vinaigrette to contrast sweetness.
- A scoop of vanilla bean ice cream or a dollop of lightly sweetened whipped cream.
- Coffee, espresso, or a dessert wine like Port for pairing.
- For a playful dessert board, serve with bite-sized cookies or biscotti for texture contrast.
Top Tips for Perfecting:
- Use room-temperature eggs and milk for an even, airy batter. Cold ingredients can cause the batter to be denser.
- Melt chocolate gently using a double boiler or short bursts in the microwave to avoid seizing. Cool slightly before folding into whipped cream.
- Don’t overwhip the cream; stop when stiff peaks form to keep the mousse light. Overwhipping can make it grainy.
- For cleaner slices, chill the assembled cake for at least 30 minutes, then use a sharp knife warmed under hot water and wiped dry between cuts.
- Substitutions: swap semi-sweet chocolate for dark chocolate for a deeper flavor, or use plant-based cream alternatives if dairy-free.
- Common mistake: overmixing the batter — mix just until combined to keep the cake tender.
Storing and Reheating Tips:
- Refrigeration: Store the assembled cake covered in the refrigerator for up to 4 days. Keep it in an airtight cake container or loosely covered with plastic wrap.
- Freezing: You can freeze individual cake slices tightly wrapped for up to 2 months. Thaw overnight in the refrigerator before serving. The mousse texture may change slightly after freezing but will still be delicious.
- Reheating: This cake is best served chilled or at room temperature. If you prefer a slightly warmer slice, let it sit at room temperature for 15–20 minutes before serving — avoid microwaving as the mousse can separate.
FAQs
Can I make the cake layers ahead of time?
Yes. Bake the layers up to 2 days ahead and wrap them tightly in plastic wrap. Store in the refrigerator until you’re ready to assemble.
Can I use whipped topping instead of heavy cream?
For best texture and stability, use real heavy cream. Whipped topping may not fold into the chocolate as smoothly and can be sweeter and less stable.
How do I fix a curdled mousse?
If the chocolate and cream separate, chill the mixture briefly and then gently whisk by hand to bring it back together. If it’s too loose, chill until firmer before spreading.
Can I make this gluten-free?
Yes. Substitute a 1:1 gluten-free flour blend for the all-purpose flour and be sure your cocoa and other ingredients are labeled gluten-free.
How long should I whip the cream for the mousse?
Whip on medium speed until soft peaks form (about 2–3 minutes), add sugar and vanilla, then continue to stiff peaks (another 1–2 minutes). Watch closely to avoid overwhipping.
Conclusion
This Chocolate Cake with Silky Mousse is a crowd-pleaser that balances deep chocolate flavor with ethereal mousse for a dessert that looks and tastes like it took hours, when it really didn’t. It’s easy enough for a weeknight treat and elegant enough for gatherings. If you want more inspiration or a related take on chocolate mousse desserts, check out this beautifully written recipe for Chocolate Mousse Cake – Butternut Bakery. Give it a try, share it, and enjoy every silky bite.
Chocolate Cake with Silky Mousse
Equipment
- Mixing Bowl
- Electric Mixer
- Cake Pans
- Wire Rack
Ingredients
Dry Ingredients
- 1 cup All-purpose flour
- 3/4 cup Unsweetened cocoa powder
- 1 tsp Baking powder
- 1/2 tsp Salt
Wet Ingredients
- 1 cup Granulated sugar
- 1/2 cup Butter, softened
- 1/2 cup Milk, room temperature
- 3 large Eggs, room temperature
Mousse Ingredients
- 1 cup Heavy cream, cold
- 1/2 cup Powdered sugar, sifted
- 1 tsp Vanilla extract
- 4 oz Semi-sweet chocolate, melted and slightly cooled
Instructions
- Preheat oven to 350°F (175°C). Grease and flour two 9-inch round cake pans.
- Cream together the butter and sugar until light and fluffy, about 2–3 minutes. Add the eggs one at a time, beating well after each addition.
- In a separate bowl, whisk together flour, cocoa powder, baking powder, and salt. Gradually mix the dry ingredients into the wet mixture, alternating with milk.
- Divide the batter evenly between the prepared pans and bake for 30–35 minutes. Cool the cakes in the pans for 10 minutes, then transfer to a wire rack to cool completely.
- Whip the heavy cream until soft peaks form. Gradually add powdered sugar and vanilla, then fold in the melted chocolate. Chill the mousse for 30 minutes.
- Place one cooled cake layer on a serving platter, spread mousse over the top, then place the second layer on top and frost with remaining mousse.
- Garnish with chocolate shavings or fresh berries, slice, and serve.