Soft, pillowy, and laced with butter — these Soft and Buttery Homemade Rolls are the kind of comfort food that disappears first at every family table. With a tender crumb and a golden, shiny top, they make weeknight dinners feel special and holiday spreads even more memorable. Little-known fun fact: in many old kitchens, rolls were judged by how well they browned on the first try — and these consistently pass with flying colors. If you want a dependable recipe that’s simple enough for a beginner and delicious enough for company, you’re in the right place. For more ideas and tricks for perfect rolls, see more soft and buttery roll tips. Try these tonight — your family will thank you.
What is Soft and Buttery Homemade Rolls?
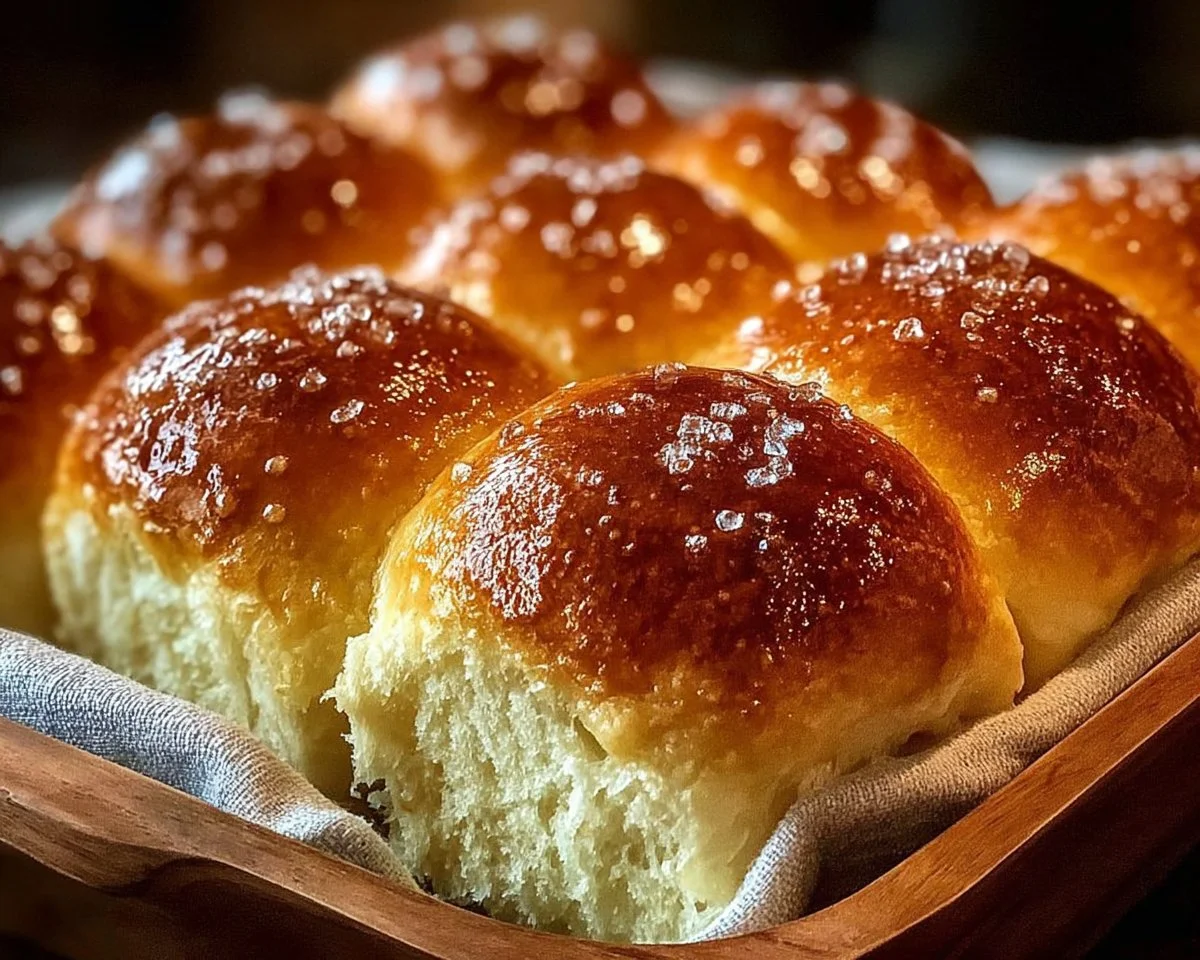
What exactly are Soft and Buttery Homemade Rolls? Think warm little clouds brushed with butter — soft on the inside, slightly chewy on the outside, and just sweet enough to pair with soups, salads, and everything in between. Where did the name come from — is it just obvious? Maybe a baker once said, “If it’s soft and buttery, it wins every time,” and the name stuck. After a few bites you might start to believe the old saying that the way to a man’s heart is through his stomach. Want to test that theory? Give these a try and see who comes sniffing the kitchen first.
Why You’ll Love This:
There are three big reasons these rolls become a favorite fast.
- Incredible texture: The crumb is soft, slightly tender, and melts when warm — that buttery finish seals the deal.
- Economical and satisfying: Homemade rolls use pantry staples and cost a fraction of store-bought artisan rolls, especially when serving a crowd.
- Flavor boosters: A simple egg wash and a final brush of melted butter make these taste luxurious without complicated techniques or ingredients.
If you like buttery biscuits, you’ll also enjoy our take on Grandma’s Homemade Buttermilk Biscuits, which have a different, flakier texture but the same warm, comforting vibes. Ready to bake? Let’s get started.
How to Make:
Quick Overview
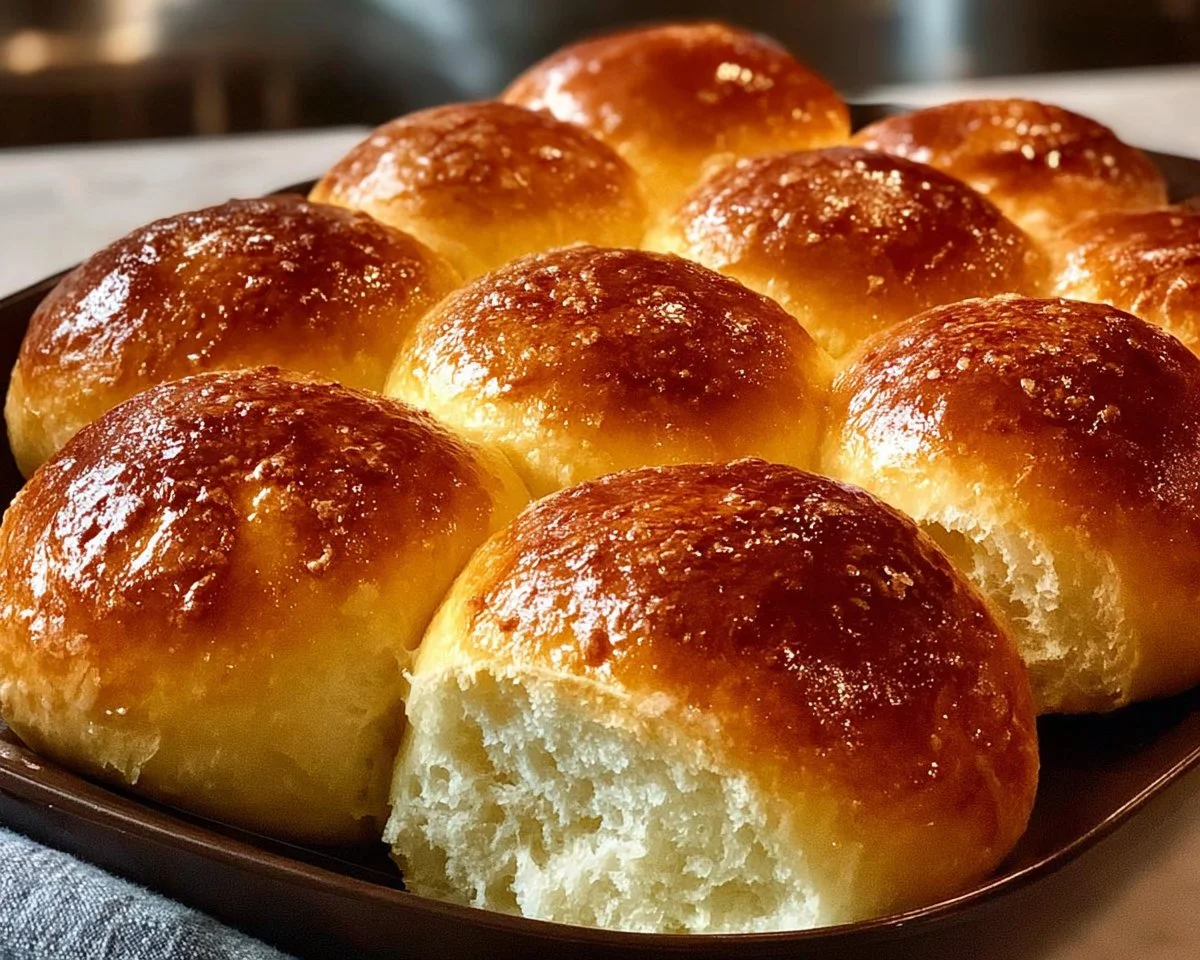
This recipe is straightforward: activate yeast, mix, knead briefly, let rise, shape, and bake. Preparation is friendly for beginners and yields tender, golden rolls with a plush interior and buttery finish. Standout elements include the glossy egg wash and the final brush of melted butter that keeps the tops soft — approximate time is 15 minutes active prep, 1 hour 30 minutes total including rises, and 20–25 minutes baking.
Ingredients
- 4 cups all-purpose flour, plus extra for dusting
- 2 teaspoons active dry yeast
- 3 tablespoons granulated sugar
- 1 1/4 cups warm milk (about 100–110°F; warm to touch, not hot)
- 1/4 cup olive oil or avocado oil, room temperature
- 2 large eggs, room temperature
- 1/2 teaspoon salt
- 1 egg white plus 2 tablespoons water (for egg wash)
- 2 tablespoons melted butter (for brushing after baking), warm
Directions
- In a medium bowl, mix the yeast and sugar. Add the warm milk and stir gently. Let it sit for about 5 minutes until it becomes foamy and bubbly — this shows the yeast is active.
- Add the olive oil, salt, and eggs into the yeast mixture and whisk until well combined and smooth. Scrape the sides of the bowl so everything is incorporated.
- Gradually add the flour, one cup at a time, mixing with a wooden spoon or spatula after each addition. Continue until a soft, slightly sticky dough forms. You may not need every last cup, but aim for a dough that holds together and pulls away from the bowl.
- Lightly flour a clean surface and transfer the dough. Knead for about 5 to 7 minutes until it becomes smooth and elastic. If it sticks, sprinkle a little more flour — do not overdo it, or rolls will turn dense.
- Place the dough in a greased bowl, turn once to coat, cover the bowl with a clean towel or plastic wrap, and let it rise in a warm spot for 1 hour or until doubled in size. A warm oven with just the light on is a good spot.
- Punch down the risen dough gently to release gas. Turn it out onto a lightly floured surface and divide into 24 equal pieces using a bench scraper or knife. Roll each piece into a tight ball by cupping your hand and rolling in a circular motion.
- Arrange the dough balls in a greased 9×13-inch baking pan or two smaller pans, leaving a little space for expansion. Cover again and allow a second rise for about 30 minutes until slightly puffy.
- Preheat the oven to 350°F. Mix the egg white and water, and gently brush the tops of the rolls for a shiny, golden finish.
- Bake for 20–25 minutes or until the tops are light golden brown and the rolls sound hollow when tapped. Rotate the pan once halfway through if your oven has hot spots.
- Immediately after removing from the oven, brush the tops with 2 tablespoons of melted butter for a soft, flavorful crust. Let the rolls cool slightly (5–10 minutes) before serving so they hold their shape.
What to Serve With:
- Classic pairings: honey or softened butter, homemade jams, or a garlic herb butter for savory lovers.
- Soups and stews: these rolls are perfect with creamy tomato soup, beef stew, or a rich chicken pot pie — try alongside Grandma’s Homemade Potato Soup for a cozy meal.
- Salads and mains: serve with roasted chicken, glazed ham, or a fresh green salad dressed with lemon vinaigrette.
- Drinks: milk for kids, a light white wine for adults, or a hot cup of tea for a comforting snack pairing.
Top Tips for Perfecting:
- Flour tolerance: all flours absorb liquid differently — add the last cup gradually and stop when dough is slightly tacky but manageable.
- Warm milk temperature: too hot will kill yeast; too cool slows rising. Aim for warm, like a baby’s bath.
- Kneading time: 5–7 minutes is usually enough to develop gluten. Under-kneaded dough will be dense; over-kneaded dough becomes tough.
- Second rise: don’t skip the second rise — it creates the soft interior everyone loves.
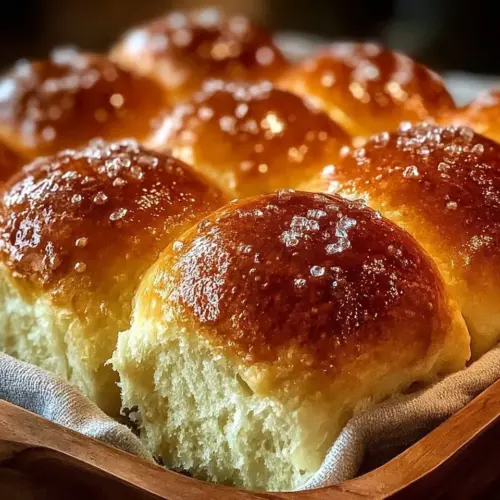
- Egg wash and butter: egg wash gives shine and color; melted butter after baking keeps tops tender and adds flavor.
Storing and Reheating Tips:
- Room temperature: store cooled rolls in an airtight container or resealable bag for up to 2 days. Add a paper towel to absorb moisture if you live in a humid climate.
- Refrigeration: not necessary for short-term storage and can dry rolls out; only refrigerate if you’ve used perishable fillings.
- Freezing: allow rolls to cool fully, then flash-freeze on a tray and transfer to a freezer bag. Freeze for up to 3 months. Thaw at room temperature or warm in the oven.
- Reheating: wrap rolls in foil and warm in a 300°F oven for 10–12 minutes. For a quick refresh, microwave a roll for 8–12 seconds and then brush with a little butter to restore softness.
FAQs
How long will the dough take to rise?
Rising time depends on room temperature. Expect about 1 hour for the first rise in a warm kitchen; cooler kitchens will take longer. The dough should double in size.
Can I use instant yeast instead of active dry yeast?
Yes. If using instant yeast, you can mix it directly with the dry ingredients and skip the initial bloom in warm milk. Reduce rising time slightly as instant yeast works faster.
Can I make these rolls ahead and bake later?
Yes. After shaping, place the rolls on a tray, cover tightly, and refrigerate overnight. Take them out the next morning to come to room temperature and finish the second rise before baking.
What if my dough is sticky and hard to handle?
A slightly sticky dough is okay. Lightly dust your hands and work surface with flour, but avoid adding too much flour — that can make rolls dense.
Can I substitute oil with melted butter in the dough?
You can substitute the oil with an equal amount of melted butter for richer flavor, but allow the butter to cool slightly before mixing with the eggs to avoid cooking them.
Conclusion
Soft and Buttery Homemade Rolls are an easy, cost-effective way to elevate any meal — from weeknight dinners to holiday feasts. They require simple ingredients, minimal hands-on time, and deliver impressive results that disappear fast. If you loved this recipe, you might also enjoy Mom On Timeout’s best dinner rolls recipe for a slightly different technique and Gimme Some Oven’s 1-hour soft and buttery dinner rolls when you need rolls in a hurry. Give these a try, share them with friends and family, and watch them become a new staple at your table.
Soft and Buttery Homemade Rolls
Equipment
- Mixing Bowl
- Baking Pan
- Wooden Spoon
- Bench Scraper
Ingredients
Ingredients
- 4 cups all-purpose flour plus extra for dusting
- 2 teaspoons active dry yeast
- 3 tablespoons granulated sugar
- 1.25 cups warm milk (about 100–110°F; warm to touch, not hot)
- 1/4 cup olive oil or avocado oil room temperature
- 2 large eggs room temperature
- 1/2 teaspoon salt
- 1 egg white for egg wash plus 2 tablespoons water
- 2 tablespoons melted butter for brushing after baking, warm
Instructions
- In a medium bowl, mix the yeast and sugar. Add the warm milk and stir gently. Let it sit for about 5 minutes until it becomes foamy and bubbly — this shows the yeast is active.
- Add the olive oil, salt, and eggs into the yeast mixture and whisk until well combined and smooth. Scrape the sides of the bowl so everything is incorporated.
- Gradually add the flour, one cup at a time, mixing with a wooden spoon or spatula after each addition. Continue until a soft, slightly sticky dough forms. You may not need every last cup, but aim for a dough that holds together and pulls away from the bowl.
- Lightly flour a clean surface and transfer the dough. Knead for about 5 to 7 minutes until it becomes smooth and elastic. If it sticks, sprinkle a little more flour — do not overdo it, or rolls will turn dense.
- Place the dough in a greased bowl, turn once to coat, cover the bowl with a clean towel or plastic wrap, and let it rise in a warm spot for 1 hour or until doubled in size.
- Punch down the risen dough gently to release gas. Turn it out onto a lightly floured surface and divide into 24 equal pieces using a bench scraper or knife. Roll each piece into a tight ball by cupping your hand and rolling in a circular motion.
- Arrange the dough balls in a greased 9×13-inch baking pan or two smaller pans, leaving a little space for expansion. Cover again and allow a second rise for about 30 minutes until slightly puffy.
- Preheat the oven to 350°F. Mix the egg white and water, and gently brush the tops of the rolls for a shiny, golden finish.
- Bake for 20–25 minutes or until the tops are light golden brown and the rolls sound hollow when tapped. Rotate the pan once halfway through if your oven has hot spots.
- Immediately after removing from the oven, brush the tops with 2 tablespoons of melted butter for a soft, flavorful crust. Let the rolls cool slightly (5–10 minutes) before serving so they hold their shape.