There’s something irresistibly comforting about juicy, cinnamon-kissed apples bubbling with just the right balance of sweet and tart — and this Freezer Apple Pie Filling delivers exactly that. Ready in minutes and perfect for busy bakers, this filling freezes beautifully so you can enjoy homemade pie flavor any time of year. Fun fact: apples were once used as a currency in some cultures, and today they’re priceless when turned into a warm pie. If you love easy make-ahead baking, this recipe pairs perfectly with other time-saving treats on the blog — try pairing ideas from our Freezer Apple Pie Filling recipe for more inspiration. Simple, family-friendly, and wallet-wise, this recipe will become a go-to in your kitchen. Get excited — your freezer is about to become the sweet spot.
What is Freezer Apple Pie Filling?
Ever wondered why it’s called “freezer” apple pie filling? Is it shy and prefers to chill before being the star of a warm pie? The name simply means the filling is prepped to be frozen for later use — clever, practical, and a little bit heroic when you need a last-minute dessert. Why not call it “lazy baker’s best friend”? As the old saying cheekily reminds us, “the way to a man’s heart is through his stomach.” Pack a few bags in the freezer and you’ll be ready to win hearts with a homemade pie in minutes. Ready to try it? Your future self (and hungry family) will thank you.
Why You’ll Love This:
- Ready-to-use convenience: Make several batches at once and pull a perfect filling from the freezer whenever the craving hits. No peeling and chopping at midnight.
- Cost-saving and seasonal: Buy apples on sale during peak season, prep a big batch, and enjoy pies all year without breaking the bank.
- Flavor-forward: A classic cinnamon-sweet blend with a bright splash of lemon keeps the apples vibrant and the filling aromatic. Top with vanilla ice cream or a crumb topping for extra indulgence.
If you enjoy quick-bake solutions, this icy keeper complements other indulgent recipes like our flaky apple-based biscuits — try a warm scoop alongside your pie for an extra cozy combo with our apple pie biscuits. Give this freezer filling a try and turn busy nights into sweet moments.
How to Make:
Quick Overview
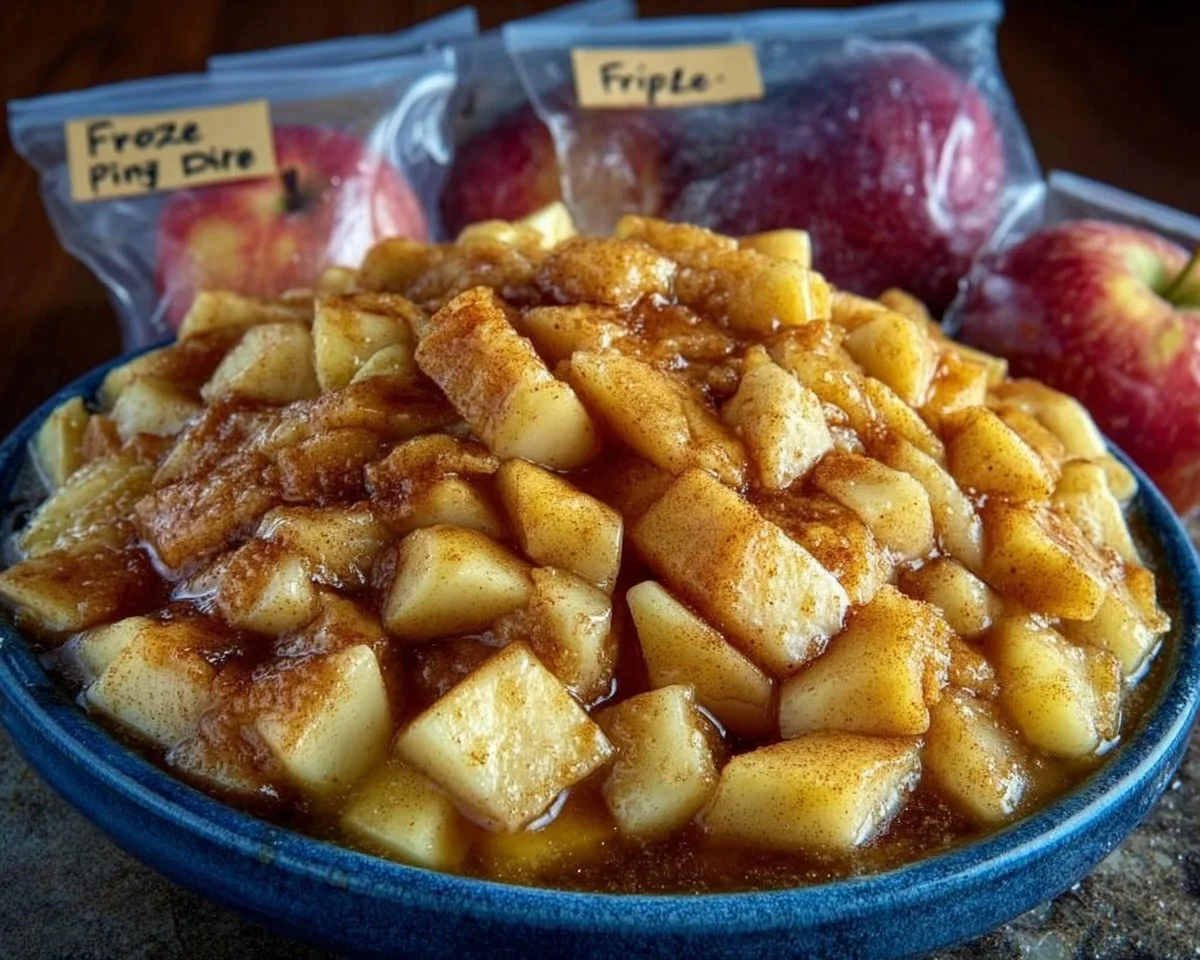
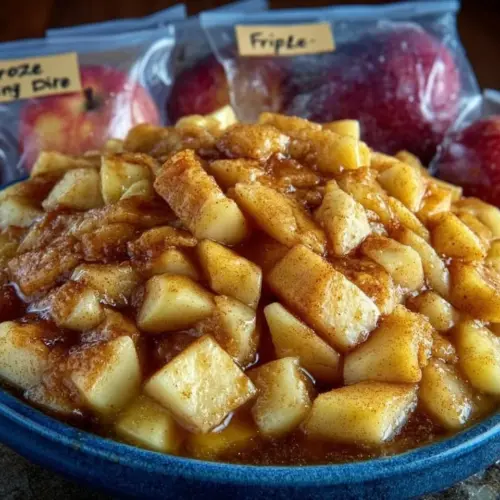
This freezer apple pie filling is deceptively simple: peel and slice apples, toss them in a bright lemon juice bath, coat with a cinnamon-sugar-cornstarch mix, then pack for freezing. The result: tender apples that bake up juicy and saucy, perfect for pies, crisps, and cobblers. Prep time is about 20–30 minutes and it freezes instantly; baking time depends on your chosen dessert.
Ingredients
- 10 cups peeled, cored, and sliced apples (about 8–10 medium apples)
- 2 teaspoons lemon juice
- 1 cup sugar
- 2 teaspoons ground cinnamon
- 1/4 cup cornstarch
Directions
- Prepare the apples: Peel, core, and slice apples into roughly 1/4-inch to 1/2-inch thick slices. Work quickly so they stay firm and even. Toss the sliced apples with 2 teaspoons of lemon juice immediately after cutting to prevent browning.
- Make the coating: In a large bowl, combine 1 cup of sugar, 2 teaspoons of ground cinnamon, and 1/4 cup of cornstarch. Whisk until well blended so there are no lumps of cornstarch left.
- Toss and coat: Add the lemon-coated apples to the bowl with the dry mixture. Toss gently but thoroughly so every apple slice is evenly coated with the sugared-cornstarch mix.
- Pack for freezing: Pack the apple mixture into freezer-safe bags or containers, removing as much air as possible before sealing. Lay bags flat for quicker freezing and easier storage. Label the containers with the date and store in the freezer for up to a year.
What to Serve With:
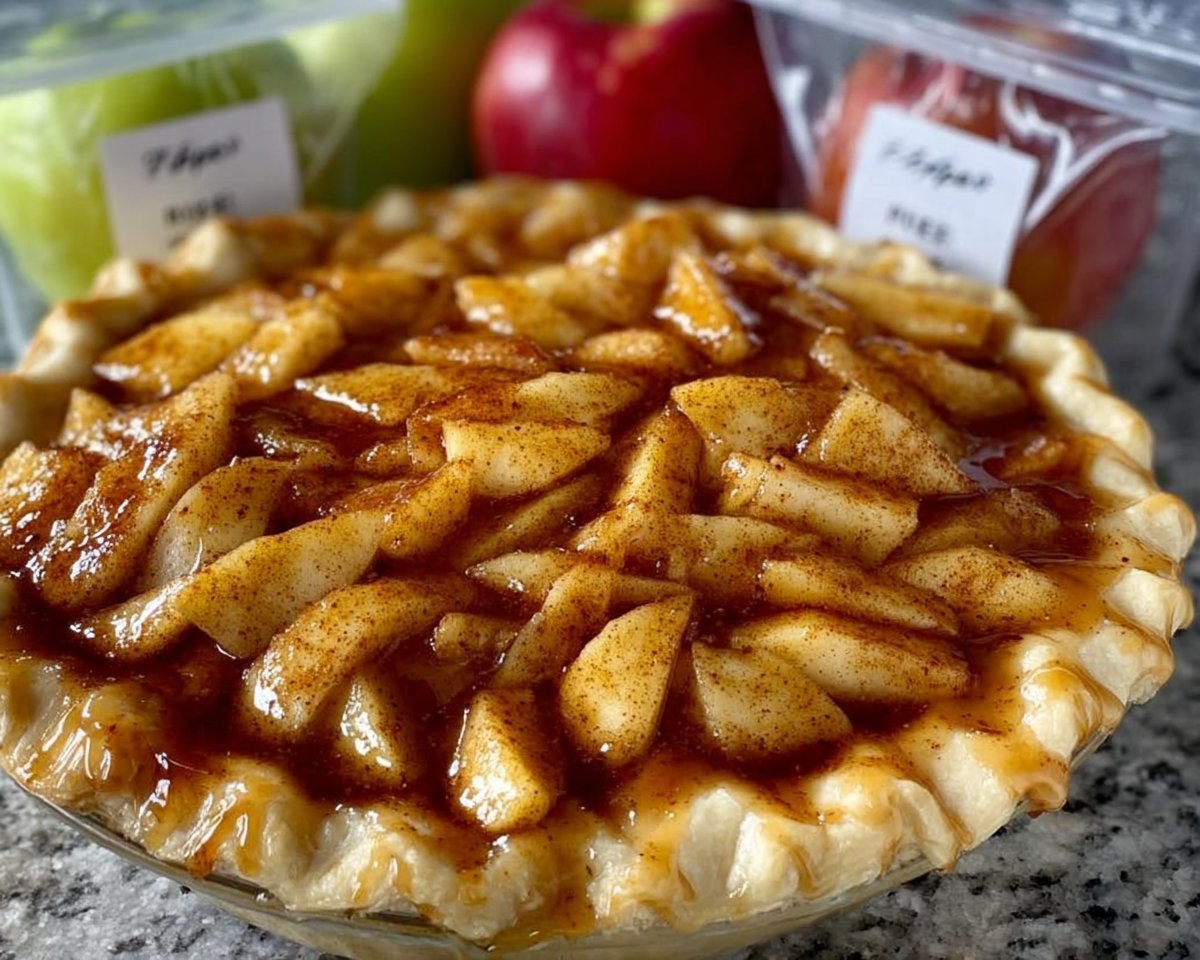
This filling is incredibly versatile. Use it for classic double-crust pies, lattice-top pies, or rustic galettes. Serve warm slices of pie with a scoop of vanilla ice cream or a dollop of whipped cream for a timeless pairing. For a rustic meal, pair apple pie with sharp cheddar cheese and a cup of hot tea or coffee. If you want to get inventive, bake the filling into turnovers or atop pork chops for a sweet-savory dinner contrast.
Top Tips for Perfecting:
- Apple variety: Use a mix of tart and sweet apples (like Granny Smith and Honeycrisp) for balanced flavor and texture. Avoid overly soft varieties that will turn mushy.
- Slice thickness: Keep slices uniform—about 1/4 to 1/2 inch—to ensure even cooking.
- Cornstarch note: If you prefer a clearer sauce, use cornstarch. For a silkier mouthfeel, try a tablespoon less cornstarch and a splash of heavy cream when baking.
- Avoid overpacking: Leave a little space in containers for the filling to expand as it freezes.
- Thawing tip: Thaw in the refrigerator overnight before filling pie crusts, or bake from frozen—add 10–15 extra minutes to the baking time.
- Common mistake: Don’t skip the lemon juice—it’s small but essential for bright flavor and preventing discoloration.
Storing and Reheating Tips:
Refrigeration: Once thawed, store any unused filling in an airtight container in the refrigerator and use within 3–4 days.
Freezing: This recipe freezes beautifully for up to one year. Lay freezer bags flat for quick freeze and stack neatly to save space.
Shelf life: Properly sealed and labeled, the filling will keep its best quality for about 12 months; after that it’s still safe but may lose texture and flavor.
Reheating: If using thawed filling for pies, bake according to your pie recipe. For reheating a prepared pie from frozen, cover the crust edges with foil and bake at 375°F until the filling bubbles and crust is golden, adding 10–20 minutes if starting from frozen.
FAQs
Can I use frozen apples instead of fresh?
Fresh is best for texture; frozen apples tend to release extra water. If using frozen, thaw and drain well before tossing with sugar and cornstarch.
Do I need to pre-cook the filling before freezing?
No, this recipe is designed to be frozen raw. The cornstarch will thicken during baking. Pre-cooking isn’t necessary and will change the texture.
How many pies will this recipe make?
This batch makes enough filling for approximately 4–5 standard 9-inch pies, depending on how deep you fill your crust.
Can I reduce the sugar for a less sweet filling?
Yes, you can reduce sugar by up to 1/4 cup without dramatically affecting structure. Taste a small portion to adjust before packing everything for freezing.
Is it safe to refreeze thawed filling?
It’s best not to refreeze after thawing. Use thawed filling within 3–4 days and store in the refrigerator.
What if my filling is watery after baking?
Make sure to measure cornstarch accurately and toss apples to coat well. If the filling is watery after baking, simmer briefly on the stove to reduce and thicken, or add a slurry of cornstarch and cold water.
Conclusion
This Freezer Apple Pie Filling is a simple, time-saving way to enjoy homemade pie any day of the year. It’s budget-friendly, family-approved, and full of bright, comforting flavors that bake into a bubbly, fragrant filling. Make a big batch, freeze it flat, and you’ll have dessert-ready goodness whenever you need it. For a helpful, tested guide with similar tips and measurements, check out this detailed Freezer Apple Pie Filling! (4-5 Pies) article — it’s a great companion resource for perfecting your pies. Give this recipe a try and share a warm slice with someone you love.
Freezer Apple Pie Filling
Equipment
- Mixing Bowl
- Freezer Bags
Ingredients
Ingredients
- 10 cups Peeled, cored, and sliced apples (about 8–10 medium apples)
- 2 teaspoons Lemon juice
- 1 cup Sugar
- 2 teaspoons Ground cinnamon
- 1/4 cup Cornstarch
Instructions
- Prepare the apples: Peel, core, and slice apples into roughly 1/4-inch to 1/2-inch thick slices. Toss the sliced apples with 2 teaspoons of lemon juice immediately after cutting to prevent browning.
- Make the coating: In a large bowl, combine 1 cup of sugar, 2 teaspoons of ground cinnamon, and 1/4 cup of cornstarch. Whisk until well blended.
- Toss and coat: Add the lemon-coated apples to the bowl with the dry mixture. Toss gently but thoroughly so every apple slice is evenly coated.
- Pack for freezing: Pack the apple mixture into freezer-safe bags or containers, removing as much air as possible before sealing. Label the containers with the date and store in the freezer for up to a year.