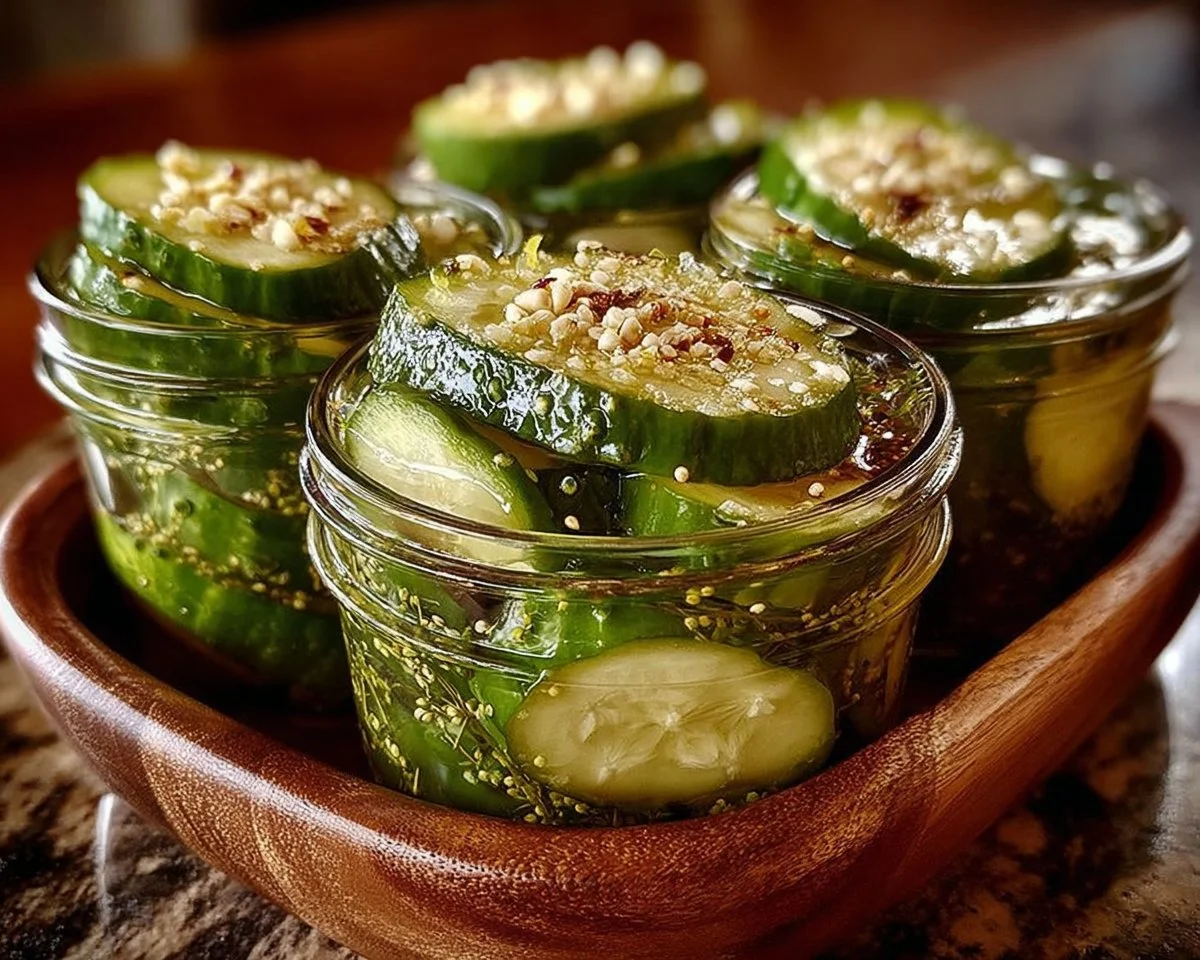
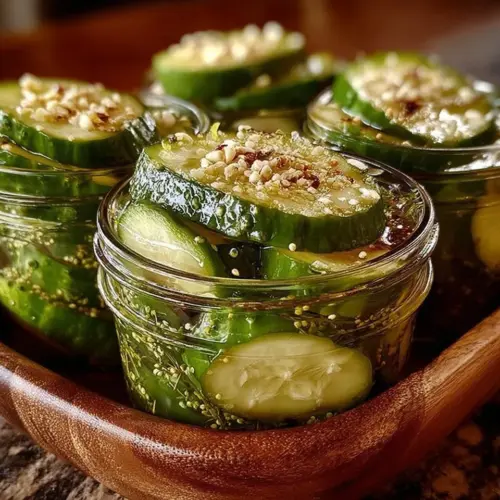
Crisp, tangy, and packed with garlicky dill goodness, these Homemade Garlic Dill Pickles are the kind of snack that elevates sandwiches, brightens salads, and turns ordinary burgers into something unforgettable. Ready in minutes and mellowing into a perfect crunch after a couple of days in the fridge, this recipe is a win for busy cooks and pickle lovers alike. Fun fact: many home cooks swear pickling is part science, part therapy — there’s something soothing about layering cucumbers and watching flavors develop.
This recipe stands out because it’s simple, fast to prepare, and reliably delicious. If you’ve enjoyed other quick-preserve recipes on the blog, you might also like our homemade garlic dill pickles roundup — it shows there’s more than one great way to make a classic. Read on and you’ll be excited to jar up a batch tonight!
What is Homemade Garlic Dill Pickles?
Ever wonder why we call them Garlic Dill Pickles? Are they secretly plotting to take over your sandwich game? These are cucumbers transformed by a bright, vinegary brine scented with smashed garlic and fresh dill — simple chemistry, delicious results. Legend (or at least my family lore) claims they got their name because a neighbor once said, “the way to a man’s heart is through his stomach,” and promptly won over the whole block with a jar of these. Try them and you might discover they’ll win over your heart — and maybe your neighbor’s too. Give them a go and let the crunchy confessions begin!
Why You’ll Love This
- Bold, refreshing flavor: The garlic and dill pair with the tang of white vinegar to create a punchy, herbaceous bite that wakes up any dish.
- Economical and eco-friendly: Making pickles at home saves money compared to store-bought jars and lets you control ingredients and packaging waste.
- Versatile and family-friendly: Kids and adults alike love the crunch; these are perfect for lunchboxes, picnics, or dolling up weeknight dinners.
If you liked the flavor-forward approach in our cheesy garlic breadsticks, you’ll appreciate how these pickles add a zesty contrast to rich, buttery dishes. Ready to jar a batch? Let’s do it!
How to Make
Quick Overview
This recipe is easy because it uses a simple hot-brine method: heat the brine, pack jars with cucumbers and aromatics, pour over the brine, and chill. Preparation is mostly packing jars and waiting — about 15 minutes hands-on, then a brief cooling period and 48 hours of refrigeration for best flavor. Expect about 15 minutes prep and no cooking beyond boiling the brine.
Ingredients
- 2 pounds fresh cucumbers, washed and sliced (about 1/4-inch thick)
- 4 cups water, room temperature
- 3 cups white vinegar (5% acidity)
- 2 tablespoons kosher salt (do not use iodized table salt)
- 4 cloves garlic, peeled and smashed (leave whole or slice thinly)
- 4 heads fresh dill, stems trimmed (use fronds and stems)
- 1 tablespoon mustard seeds
- 2 teaspoons black peppercorns
- 4 dill flower heads (optional, one per jar for extra dill flavor)
Directions
- In a large pot, combine the 4 cups water, 3 cups white vinegar, and 2 tablespoons kosher salt. Stir to dissolve, then bring the mixture to a rolling boil over medium-high heat. Keep an eye on it so it doesn’t boil over.
- While the brine heats, pack the cucumber slices tightly into sterilized jars. Use pint-sized jars or the size you prefer, filling each jar leaving about 1/2 inch headspace. As you layer cucumbers, tuck in the 4 smashed garlic cloves, 1 tablespoon mustard seeds distributed across jars, 2 teaspoons black peppercorns divided between jars, and the fresh dill (use the 4 heads as fronds and stems).
- Once the brine is boiling and the salt is fully dissolved, carefully pour the hot brine over the cucumbers in each jar. Pour slowly and leave about 1/4 inch headspace. Tap jars gently to release air bubbles; add more brine if necessary to fully cover the cucumbers.
- If you’re using the 4 dill flower heads, add one flower head to each jar now for extra aromatic flavor. Seal the jars tightly with lids and rings. Let them sit on the counter until they reach room temperature — this helps prevent cracking when moved to the fridge.
- Refrigerate the jars for at least 48 hours to develop flavor. They’ll be crisp and tasty after two days, and even better after a week. Keep refrigerated and consume within the recommended shelf-life below.

What to Serve With
- Classic: Serve atop burgers, hot dogs, or deli sandwiches for instant lift.
- Salads and bowls: Chop and add to potato salad, tuna salad, or grain bowls for acidity.
- Cheese boards: Pair with sharp cheddar or creamy Brie; the vinegary crunch balances rich cheeses.
- Drinks: Serve alongside a cold beer or a savory Bloody Mary to cut through richness.
Top Tips for Perfecting
- Cucumbers: Use firm, fresh cucumbers for the best crunch; pickling cucumbers are ideal but regular slicers work fine.
- Salt: Use kosher or pickling salt; iodized table salt can cloud the brine and affect flavor.
- Sterilizing: Sterilize jars by washing in hot, soapy water and warming them in the oven or running a hot rinse cycle in the dishwasher.
- Flavor tweaks: Add red pepper flakes for heat, or a bay leaf per jar for depth.
- Timing: Refrigeration time matters — at least 48 hours for good flavor, one week for best depth.
- Common mistake: Don’t overcook cucumbers or expose them to heat after sealing; that can make them soft.
For a savory pairing idea that highlights garlic and butter in a different format, consider pairing these pickles with our air fryer garlic butter steak bites and potatoes for a balanced plate.
Storing and Reheating Tips
- Refrigeration: Store sealed jars in the refrigerator. These quick pickles are not shelf-stable; keep them chilled.
- Shelf life: Properly refrigerated, they’ll stay crisp and flavorful for up to 4–6 weeks. Flavor may mellow over time.
- Freezing: Do not freeze pickles — freezing damages texture and makes them mushy.
- Reheating: No reheating needed — serve chilled or at room temperature. If using in a warm recipe, add near the end of cooking to preserve crunch.
FAQs
How long do these pickles need to sit before they’re ready to eat?
They need at least 48 hours in the refrigerator to develop good flavor, though waiting a week will deepen the taste.
Can I can these for shelf-stable storage?
This recipe is written for quick refrigerator pickles. If you want shelf-stable canned pickles, follow a tested water-bath canning recipe and processing times for your jar size and altitude.
What cucumbers are best for pickling?
Pickling cucumbers are ideal since they’re firmer and less seedy. Regular slicing cucumbers work too if they are very fresh and firm.
Can I reduce the vinegar or salt?
You can tweak levels slightly, but vinegar and salt are essential for flavor and preservation in a quick pickle. Too much reduction can affect safety and taste.
How can I make these spicier?
Add red pepper flakes, sliced jalapeño, or a small pinch of cayenne to each jar when packing the cucumbers.
Conclusion
These Homemade Garlic Dill Pickles are a simple, budget-friendly way to add bold flavor and satisfying crunch to countless meals. They’re quick to make, family-approved, and versatile enough to accompany everything from sandwiches to cheese boards. If you’d like a slightly different method or want to explore home-canned variations, check out this helpful recipe for a tested approach: Home Canned Garlic Dill Pickle Recipe – Foodie With Family. Give a jar a try—share a batch with friends and enjoy the applause.
Homemade Garlic Dill Pickles
Equipment
- Large Pot
- Sterilized jars
Ingredients
Cucumbers
- 2 pounds fresh cucumbers, washed and sliced (about 1/4-inch thick)
Brine Ingredients
- 4 cups water room temperature
- 3 cups white vinegar (5% acidity)
- 2 tablespoons kosher salt (do not use iodized table salt)
Aromatics
- 4 cloves garlic peeled and smashed (leave whole or slice thinly)
- 4 heads fresh dill (stems trimmed, use fronds and stems)
- 1 tablespoon mustard seeds
- 2 teaspoons black peppercorns
- 4 heads dill flower heads (optional, one per jar for extra dill flavor)
Instructions
- In a large pot, combine the 4 cups water, 3 cups white vinegar, and 2 tablespoons kosher salt. Stir to dissolve, then bring the mixture to a rolling boil over medium-high heat.
- While the brine heats, pack the cucumber slices tightly into sterilized jars, filling each jar leaving about 1/2 inch headspace. Tuck in the smashed garlic cloves, distribute mustard seeds, divide black peppercorns, and add fresh dill.
- Once the brine is boiling, carefully pour it over the cucumbers in each jar, leaving about 1/4 inch headspace. Tap jars gently to release air bubbles; add more brine if necessary.
- If using dill flower heads, add one to each jar now. Seal the jars tightly and let them sit on the counter until they reach room temperature.
- Refrigerate the jars for at least 48 hours to develop flavor. They’ll be crisp and tasty after two days, and even better after a week.